
First Impressions Start at the Curb
Your driveway is the red carpet to your home. In the six-second window a visitor or buyer forms an opinion, the driveway accounts for up to 30 % of what they see at street level. A tired, cracked slab can knock 5–10 % off perceived property value before anyone reaches the front door. Conversely, a well-proportioned, complementary driveway signals pride of ownership and sets expectations for the rest of the house.
The good news: boosting curb appeal doesn’t always mean ripping everything out. Strategic design choices—material, color banding, lighting, landscaping—can transform even a 20-year-old asphalt pad in a single weekend. Below, we break down the elements that create a memorable first impression and give you a step-by-step checklist you can hand to any contractor (or tackle yourself).
Step 1: Plan with Purpose
Measure the “Visual Field”
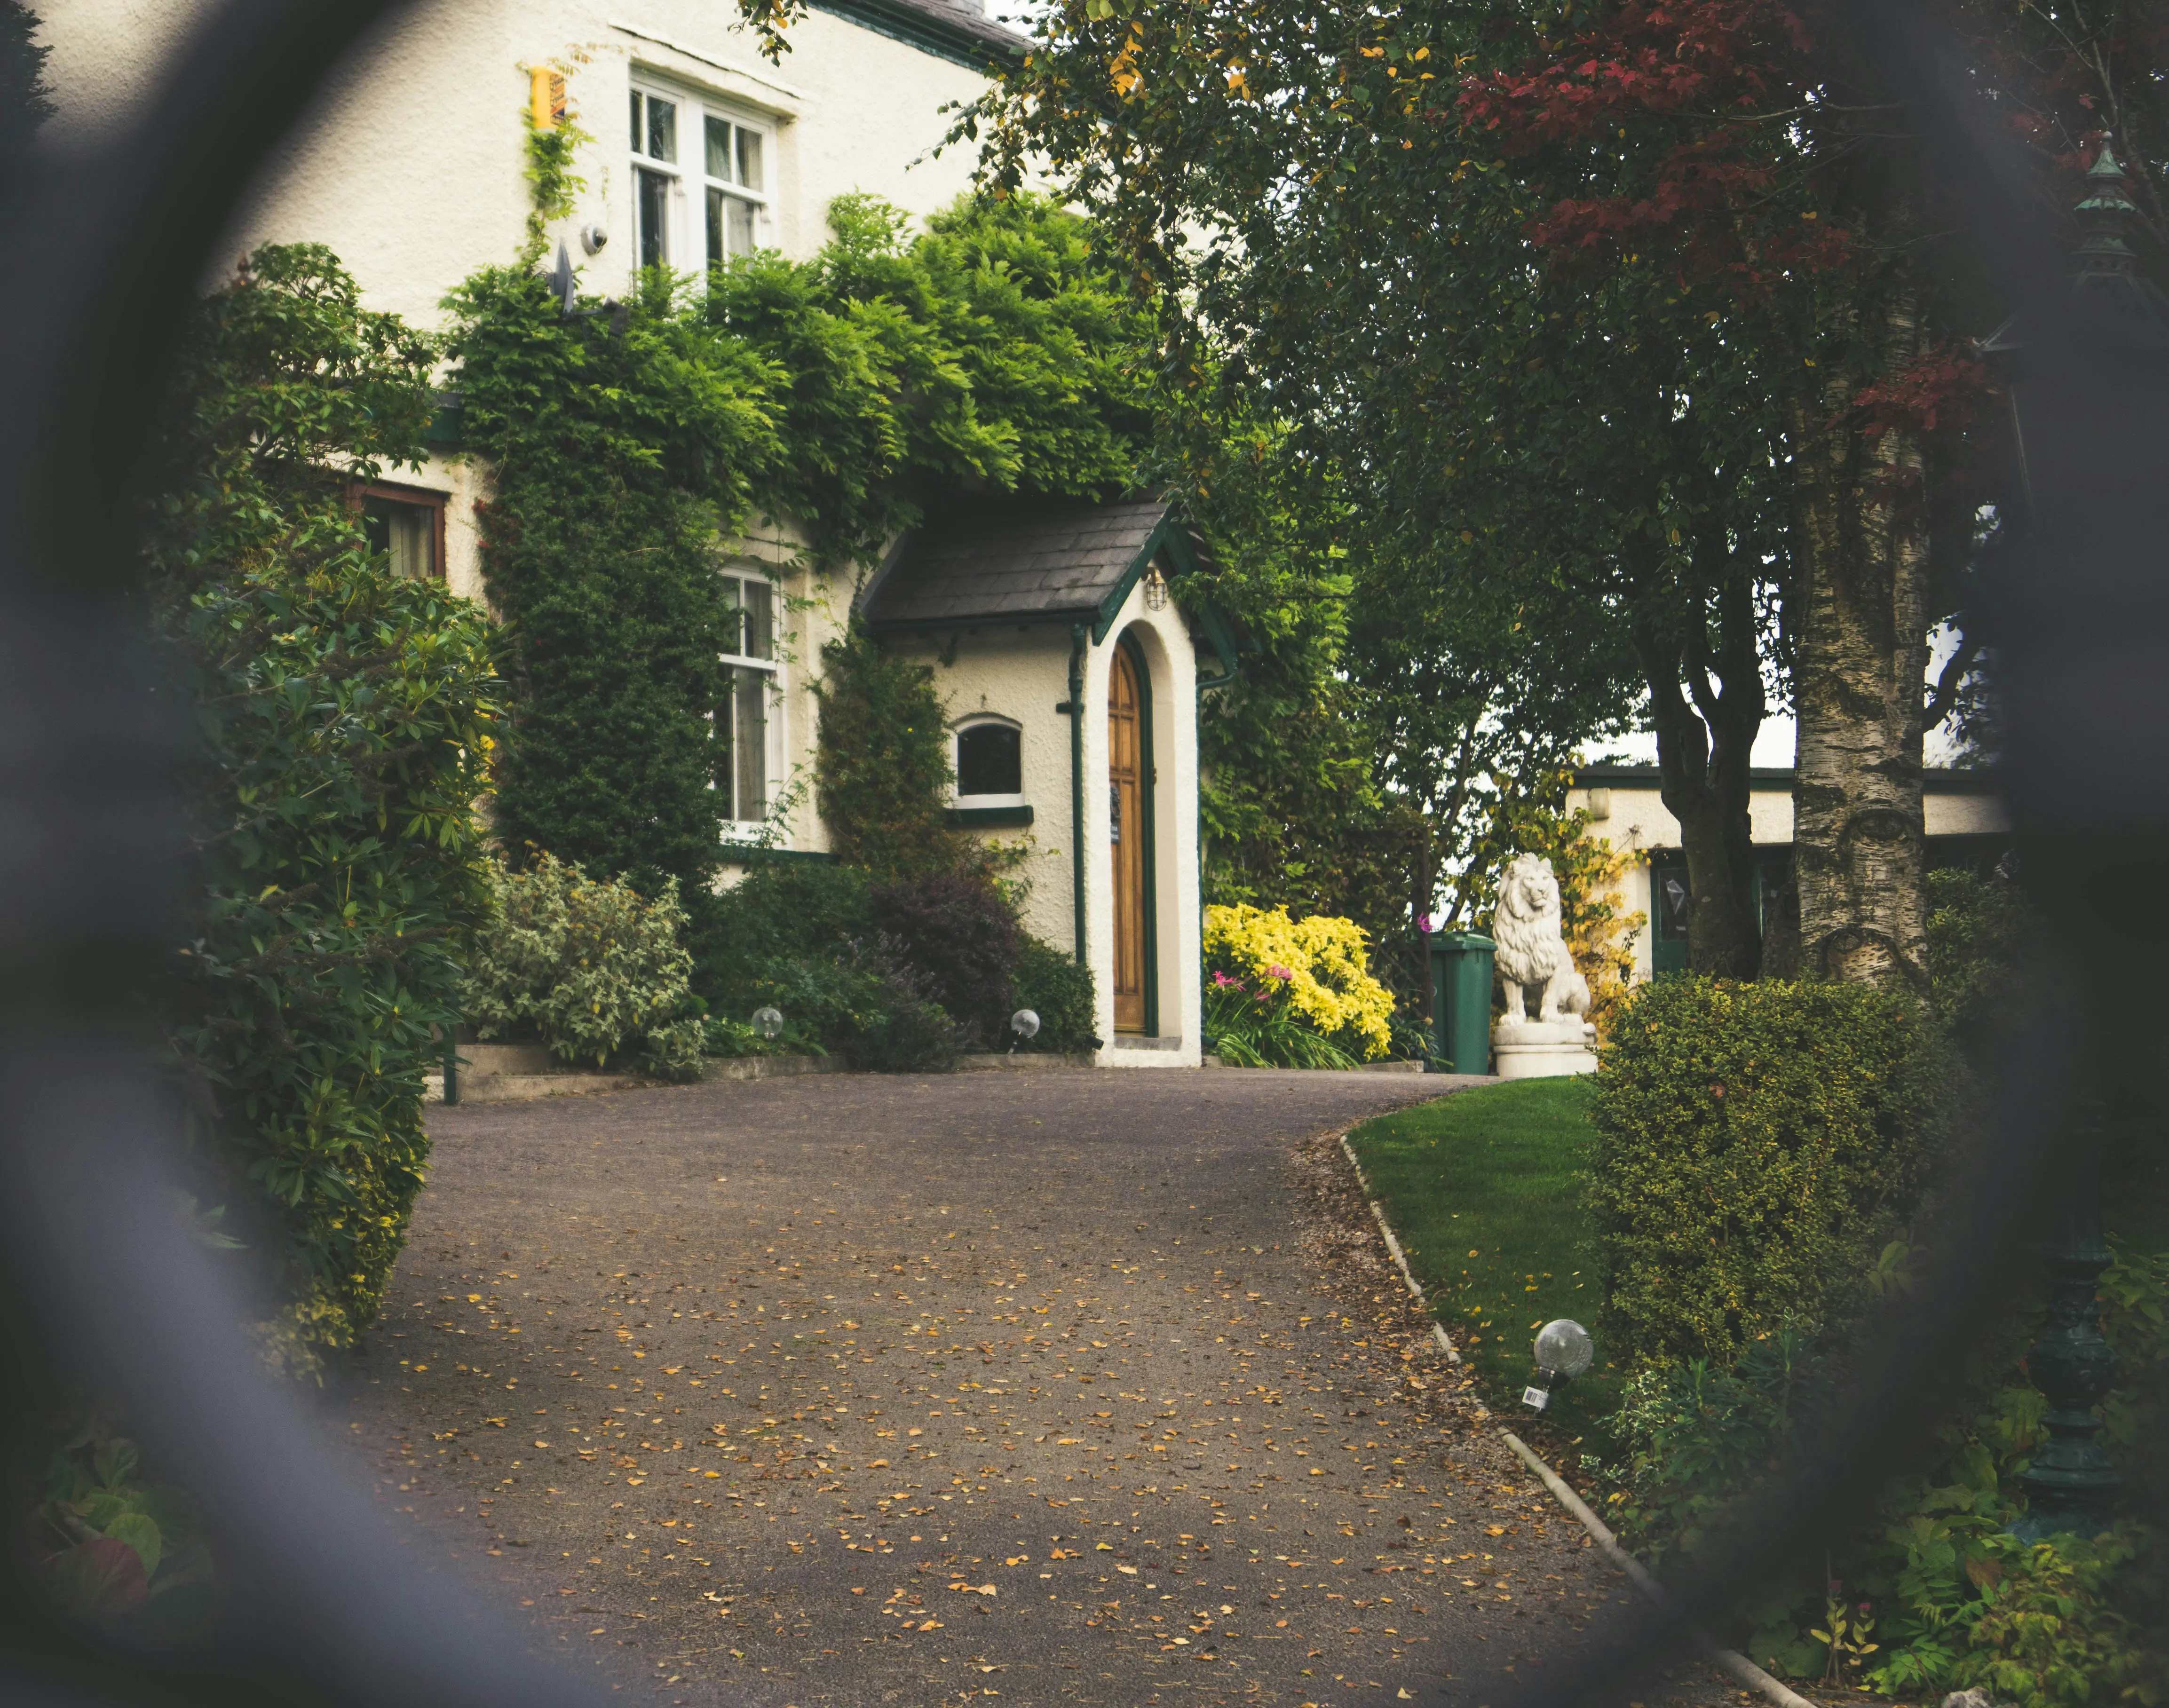
Stand at the curb and take a phone photo in landscape mode. Draw a simple rectangle on the print to represent your existing driveway. Anything inside that frame is your visual field—this is what buyers photograph and what guests study while waiting for the door to open. Aim for 60 % hardscape, 40 % softscape (planting strips, lawn, lighting) to avoid a “parking-lot” feel.
Choose a Focal Point
Decide where you want the eye to land. Most successful designs place the focal point at the garage door or the front walk intersection. A contrasting border, a medallion inlay, or a pair of lanterns can mark the spot and make the driveway feel shorter (a plus if you have a long, narrow lot).
Check the Rules Before You Fall in Love
- HOA color palettes—some restrict concrete dyes to earth tones.
- City setback requirements—widening may require a 5-ft buffer from side property lines.
- Permeability ratios—many municipalities now limit impervious surface to 45 % of total lot.
Step 2: Pick the Material That Matches Your Home’s Style
Classic Colonial or Cape Cod
Traditional brick or brick-edged asphalt keeps the timeless look. Use a sailor course (bricks laid vertically) along the edge to echo chimney lines.
Modern Farmhouse
Stamped concrete in a boardwalk pattern pairs well with white board-and-batten siding. Add a 6-inch charcoal border to ground the light siding.
Mid-Century Ranch
Smooth broom-finish concrete with aggregate exposure ties into the clean horizontal lines. Score a 4-ft grid to break up the monolithic feel without adding color.
Mediterranean
Tumbled concrete pavers in a terra-cotta tone complement stucco walls. Choose a herringbone pattern to hint at old-world courtyards.
Step 3: Use Color and Texture to Create Depth
The 3-Shade Rule
Limit your palette to three hues: base (main driveway), accent (border or band), and pop (front door or planters). Repeating the accent color in the mailbox or house trim knits the whole facade together.
Cool vs. Warm Tones
Gray concrete or blue-stone hues recede, making small yards feel larger. Warm browns and reds advance, cozying up a vast expanse. If your home already has warm stone or brick, repeat at least one of those colors in the driveway border to avoid a “bolted-on” look.
Texture for Traction and Tone
A light swirl or wood-float finish adds slip resistance without overpowering. Save heavy textures (cobble, heavy slate stamp) for borders so the main field stays easy to shovel and sweep.
Step 4: Layer Lighting for Night-Time Drama
Down-Light the Path
Install 18-inch tall hooded path lights every 8–10 ft along the edge. Use 2700 K LED bulbs for a candle-like glow that flatters stone and brick.
Up-Light the Trees
If you have a canopy tree near the driveway, a single 35-degree spotlight at the base creates a moon-wash across the surface, softening any oil stains that inevitably show up.
Recessed Driveway Lights
For modern homes, flush-mount in-ground LEDs (IP67 rated) at the garage apron create an airline-runway effect. Choose copper or brass fixtures; aluminum versions corrode under snowplows.
Step 5: Soften the Edges with Landscaping
The 18-Inch Rule
Leave an 18-inch planting strip between driveway and lawn. This buffer catches door dings, hides tire scuffs, and gives you space for seasonal color. Use salt-tolerant perennials like catmint or ornamental grass in northern climates.
Groundcover Between Pavers
Opt for 2-inch joint gaps and fill with polymeric sand plus creeping thyme. The sand locks pavers; the thyme releases scent when driven over, adding an unexpected sensory “first impression.”
Mow-Free Tree Rings
A 6-ft ring of shredded bark around a shade tree eliminates string-trimmer damage on both bark and driveway edge. Keep the ring 2 inches below the concrete so blower cleanup stays simple.
Maintenance That Protects Your Investment
Seal on a Schedule
- Asphalt: every 3 years, or when the color turns from charcoal to slate gray.
- Concrete: penetrating silane-siloxane sealer every 5 years in freeze zones, 7 in mild climates.
- Pavers: re-sand joints + joint stabilizing sealer every 4 years.
Spot-Clean Oil Fast
Kitty litter overnight, then a biodegradable citrus degreaser prevents permanent shadowing that screams “neglect.”
Crack Control
Fill hairline cracks in early spring with a gray self-leveling sealant. Waiting until fall allows water to freeze and widen the gap to ¼ inch, at which point patching becomes visible.
Budget Hacks for Every Price Point
Under $1,000
- Power-wash and seal existing asphalt (DIY: $250 in materials).
- Add 6-inch brick or stained concrete border along the apron (100 linear ft ≈ $650).
- Swap dated light fixtures for LED carriage-style units ($90 each).
$3,000–$8,000
- Resurface 600 sq ft of concrete with a stamped overlay in slate or ashlar pattern.
- Install recessed driveway lights (4 fixtures) tied into existing garage circuit.
- Add 200 sq ft of permeable paver band for green-points (helps with storm-water credits).
$10,000+ Full Redesign
Remove and replace 1,000 sq ft, integrate heating cables in high-snow regions, widen apron to 20 ft for two-car ease, and include a 5-ft planting island in the center to break up sea-of-pavement look.
ROI: What Realtors Really See
According to the National Association of Realtors 2023 Remodeling Impact Report, a new driveway delivers a 100 % cost recovery at sale—one of only five projects to break even or better. More importantly, listings with “new driveway” in the remarks sell 15 % closer to list price. Translation: buyers subtract the cost of replacement from their offer if they see cracks, oil stains, or alligatoring. A crisp entrance, on the other hand, photographs better, drives more online clicks, and shortens days on market.
Frequently Asked Questions
A properly installed stamped concrete overlay or paver veneer lasts 15–20 years in freeze-thaw climates, provided you seal every 3–5 years and patch cracks within the first season. Avoid rock-salt ice melt; use calcium magnesium acetate instead.
Most cities allow widening up to the side-yard setback (often 5 ft) without a permit, but adding additional curb cuts or going past the front-building line usually requires approval. Check your local zoning map; HOA approval is separate and often stricter.
Exposed aggregate concrete with a penetrating sealer. The textured surface hides leaf stains, and the sealer prevents tannin bleed. Blow leaves weekly in fall, and rinse with a garden hose—no pressure-washing needed.
Heated systems (electric mat or hydronic tubes) add functional value in heavy-snow regions and can recoup 50–60 % of cost at sale. Buyers love the safety factor, but expect to pay $12–$20 per sq ft installed. Operate only during storms to keep electric bills under $250 per winter.