
Why Climate Zone 2 Driveways Need Special Attention
Climate Zone 2—think northern New England, the upper Midwest, and high-elevation Rockies—delivers 100-plus freeze-thaw cycles every winter, average January lows below 32 °F, and a frost depth that can exceed 42 inches. A standard “one-size-fits-all” driveway installed in these postal codes will heave, crack, and spall long before its time.
The good news? Choosing the right material, base design, and maintenance routine can give you a 30- to 50-year surface that shrugs off salt, snowplows, and the occasional polar vortex. Below, we break down the four best driveway materials for Zone 2 and share field-tested tips you can act on today.
Asphalt: The Flexible Workhorse
What Makes Cold-Grade Asphalt Different
Standard “driveway mix” softens in summer and becomes brittle at 20 °F. Cold-grade asphalt uses a higher percentage of ¾-inch crushed stone and polymer-modified binder. The result is a 4–6% air-void content that allows winter expansion without cracking.
Best Base & Thickness Recipe
- 12 in. compacted crushed stone (CA-6 or 2A modified) for frost drainage
- 3 in. binder course (½-inch aggregate)
- 1.5 in. surface course (⅜-inch aggregate)
- Edge restraint: asphalt curb or concrete border to stop cold-weather creep
DIY Maintenance Calendar
- May: Fill cracks <¼ in. with rubberized asphalt crack filler.
- June: Seal-coat with coal-tar-free, low-VOC sealer; repeat every 3–4 years.
- October: Apply plow-safe reflectors; set blade height to ½ in. above surface.
Expected Cost & Lifespan
Installed: $3–$5 per sq ft. Properly maintained: 20–25 years in Zone 2.
Reinforced Concrete: Built to Fight Freeze-Thaw
Air-Entrained Mix Design
Look for 6–8% microscopic air bubbles created with certified air-entraining agent. Those tiny voids give freezing water room to expand, cutting spalling by 70%.
Fiber vs. Rebar: Which Reinforcement Wins?
- Macro-synthetic fibers (1.5% by volume) reduce shrinkage cracks the first 30 days.
- #4 rebar on 18-in. grid handles heavy loads and keeps panels aligned after frost heave.
- The pro move: use both—fiber for micro-cracking, rebar for structural strength.
Control-Joint Layout for Snowblowers
Space joints no more than 10 ft apart and keep them 1 in. deep. Align joints with the direction of snowblower or plow travel so skids don’t catch and chip edges.
De-Icing Do’s & Don’ts
Safe: calcium magnesium acetate (CMA) or magnesium chloride. Avoid straight rock salt (sodium chloride) after December—it refreezes at 15 °F and scales the surface.
Expected Cost & Lifespan
Installed: $7–$10 per sq ft. Lifespan: 30–40 years; first crack repair usually year 12–15.
Concrete Pavers: The Flexible, Repairable Surface
Choosing a Zone-2 Rated Paver
ASTM C936 spec is non-negotitable: minimum 8,000 psi compressive strength, 5% absorption, and a maximum 50 freeze-thaw weight loss cycles. Look for the “Snow Belt” logo on packaging.
Open-Graded Base = No Ice Lenses
Instead of sand, use ¾-inch clean stone (AASHTO #57) in a 10-in. lift topped by 1 in. of ¼-inch chip (AASHTO #9). Water drains vertically, so it can’t freeze into lens-shaped ice pockets that lift pavers.
POLYMERIC SAND VS. REGULAR SAND
Polymers create a flexible yet water-resistant joint that sheds salt and minimizes weed growth. After a blizzard, the surface can be plowed at full speed without scraping out joint material.
Quick Winter Repair
Pop out heaved pavers with two flat screwdrivers, add or remove base material, tamp, and reinstall. One coffee-break job, not a weekend project.
Expected Cost & Lifespan
Installed: $10–$14 per sq ft. Lifespan: 30–50 years; color fade 10% every 15 years.
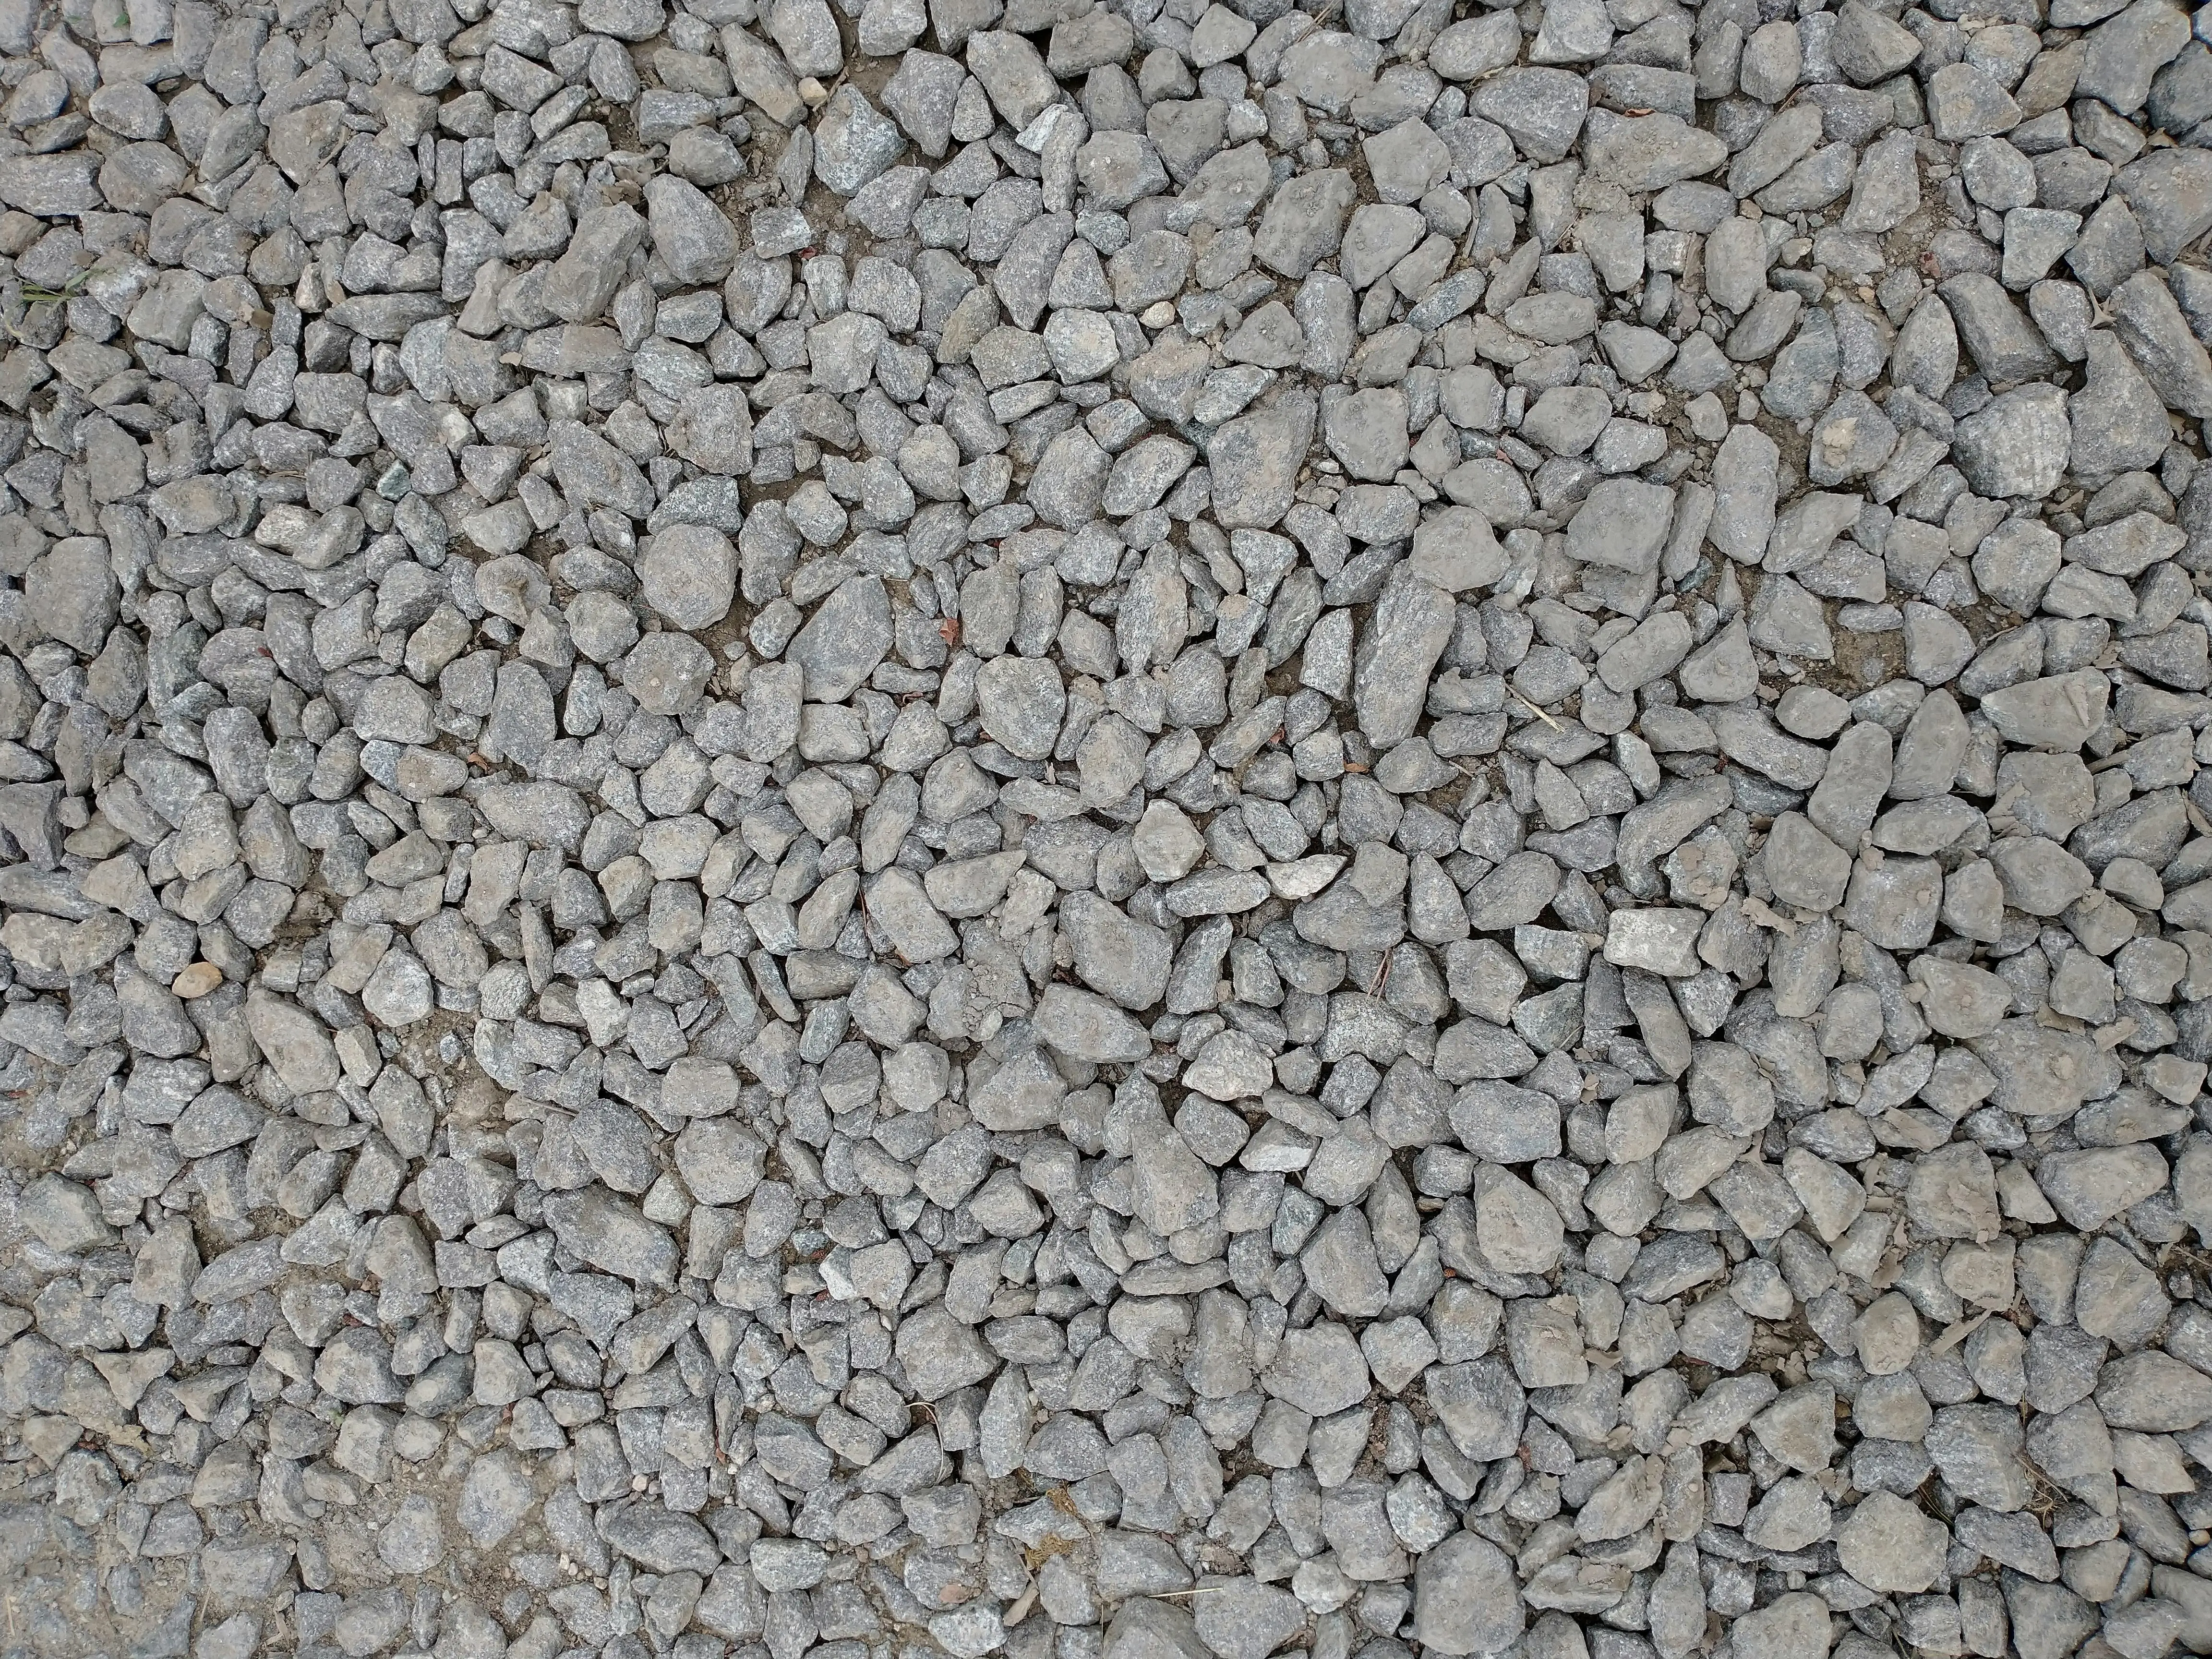
Stabilized Gravel: The Budget-Friendly, Permeable Option
Geogrid or Geocell: Lock the Rocks
Install a triaxial geogrid (TX160 or better) 4 in. above subgrade. It keeps ¾-inch gravel from migrating downward into frost-susceptible soil, cutting spring ruts by 80%.
Winter Plowing Tips
- Use a urethane cutting edge on the plow—steel edges scoop stone.
- Set blade float at ½ in. above grade; back-drag rather than push forward on first pass.
Dust & Ice Control
Apply ½ lb per sq yd of calcium chloride flakes in November. It suppresses dust in summer and keeps the top ½ inch slightly damp, preventing loose aggregate from becoming projectiles.
Expected Cost & Lifespan
Installed: $1–$3 per sq ft. Refresh surface gravel every 5–7 years; geogrid lasts indefinitely.
Side-by-Side Snapshot: Which Material Fits Your Goals?
| Feature | Asphalt | Concrete | Pavers | Stabilized Gravel |
|---|---|---|---|---|
| Freeze-thaw durability | Good | Excellent* | Excellent | Good |
| Plausible DIY | No (needs paver) | No (needs crew) | Yes (weekend) | Yes |
| Repair difficulty | Medium | High | Very easy | Easy |
| Upfront cost (12×24 ft drive) | $2.2 k | $5 k | $7 k | $1 k |
*Requires air-entrainment and joint layout per section above.
Installation Tips That Separate 10-Year From 30-Year Driveways
Frost-Proof Subgrade Checklist
- Excavate to local frost depth + 2 in. (call your county extension office).
- Proof-roll subgrade with a 5-ton roller; any pumping spots get removed and replaced with compacted granular fill.
- Install perforated drain tile at subgrade edge if yard slope is <1%.
The 48-Hour Rule
Never place concrete or asphalt when the 48-hour forecast shows temps dropping below 40 °F without blankets. Early freezing cuts final strength in half.
Snow-Melt System? Plan Now
Radiant hydronic tubing is cheapest to lay before base stone. For Zone 2, spec 1/2 in. PEX on 9-in. centers, 2 in. below paver or concrete surface. Operating cost averages $0.35 per 100 sq ft per hour at 30 °F outdoor temp.
Year-Round Maintenance Cheat Sheet
Spring
- Pressure-wash to remove chlorides; patch any cracks wider than 3/8 in.
- Inspect drain outlets; clear ice dams that formed over winter.
Summer
- Seal asphalt or re-sand paver joints before weeds take root.
- Apply UV-stable color enhancer on decorative concrete to stop surface crazing.
Fall
- Fill gravel ruts while base is still warm and workable.
- Install snow-pole markers 6 in. inside the edge to protect from plow damage.
Winter
- Skip metal shovels; use polycarbonate blades or plastic snowblower skids.
- Apply de-icer sparingly in stripes, not pellets, to avoid “salt shadow” patterns.
Budgeting for a Climate Zone 2 Driveway
Include these line items when you request quotes:
- Excavation & disposal ($2–$4 per sq ft in rocky soil)
- Base stone & geotextile ($1.50–$2 per sq ft)
- Permit & inspection fees (varies; $100–$400)
- Optional snow-melt or drainage upgrades ($3–$8 per sq ft)
Always insist on an itemized bid so you can compare contractor prep work—80% of winter failures trace back to skimped base or poor joint layout.
Frequently Asked Questions About a Driveway for Climate Zone 2
You can overlay only if the existing slab is structurally sound (no vertical displacement over ¼ in. and no active freeze-thaw scaling). Install a 1-in. bedding layer of ASTM C33 sand and use a permeable polymeric joint to handle vapor escape. Expect the new height to raise 2½–3 in.; check garage threshold clearance first.
Standard cure time is 7 days for passenger cars, but in Zone 2 you must keep the surface above 35 °F for the first 48 hours. Use insulated blankets or hydronic heating hoses. If temps dip below 25 °F, extend the curing blanket period to 5 days and wait 10 days before allowing heavy trucks.
Electric or hydronic elements are easier to retrofit under pavers because individual units lift out. Heated asphalt works, but the 300 °F install temperature can melt PEX tubing unless you use a low-temp rubberized asphalt layer, raising cost 25%. For most homeowners, heated pavers offer simpler future repairs.
Manufacturers specify 50 °F and rising. In Zone 2 that means seal in late May through early September. Night temps below 40 °F can trap surface moisture, causing “fisheye” bonding failures. Store sealer drums indoors overnight so the product starts at 70–80 °F for better flow and cure.