
What It Means to Build a Driveway for Climate Zone 1
Climate Zone 1 is shorthand for the USDA’s coldest regions—places where January lows can dip below –25 °F and frost penetrates 60–80 inches into the soil. A driveway in these zones has to survive deep freeze-thaw cycles, road-salt overload, and the 40-degree temperature swings that arrive overnight in late winter. Choose the wrong material or skip a step in base prep and you’ll be staring at spider-web cracks, spalling, and heave ridges by the second spring.
The good news? Homeowners who match the right material to their micro-climate, drainage pattern, and budget enjoy 25- to 40-year driveways that shrug off blizzards and plow trucks. Below you’ll find the science, the price tags, and the pro tips we use every day when we install a driveway for Climate Zone 1 across northern Minnesota, the Dakotas, and up-state New York.
Best Driveway Materials for Extreme Cold
No single surface is perfect for every lot. Compare the four cold-proof options side-by-side, then dig into the details that matter for your property.
1. Air-Entrained Concrete (4,000 psi minimum)
Air-entrained concrete contains billions of microscopic air bubbles that give freezing water room to expand. In Zone 1 we bump the standard 5 % air content to 7 % and specify 4,000 psi with a low water-to-cement ratio (≤ 0.45). The payoff: a rigid surface that can handle 100 freeze-thaw cycles per winter without surface scaling.
- Pros: 30- to 40-year life, clean look, adds resale value, snowblower-friendly.
- Cons: Higher upfront cost; salt can still eat exposed edges if joints aren’t sealed.
- Pro tip: Order a 6-sack mix with 2 % calcium-chloride accelerant for late-fall pours so the slab reaches 500 psi before night-time temps crash.
2. Asphalt with PMA (Polymer-Modified Aggregate)
Standard asphalt gets brittle at –15 °F. PMA blends in styrene-butadiene rubber that keeps the pavement flexible down to –40 °F. We lay 3 inches of binder course (PG 58-34) plus 1.5 inches of surface course, then roll it at 290 °F for full compaction before the mercury drops.
- Pros: Lower initial cost than concrete; dark color melts snow faster; easy patch repairs.
- Cons: Needs seal-coating every 3–4 years; can rut under studded tires if base is thin.
- Pro tip: Ask for “RAP-light” mix—20 % recycled asphalt keeps the blend greener without sacrificing cold flexibility.
3. Permeable Interlocking Pavers on Open-Graded Base
Water management is half the battle in Zone 1. Permeable pavers sit on 8–12 inches of #57 stone that stores melt-water and drains it away before it can freeze and heave the surface. Polymeric sand in the 3 mm joints lets the pad flex 3–5 mm without cracking.
- Pros: Zero puddles, no salt needed for de-icing (use sand), individual paver replacement.
- Cons: Higher labor cost; leaf litter must be vacuumed yearly to keep porosity.
- Pro tip: Choose a paver with ≥ 8,000 psi compressive strength and a minimum 5 % water absorption to resist spalling.
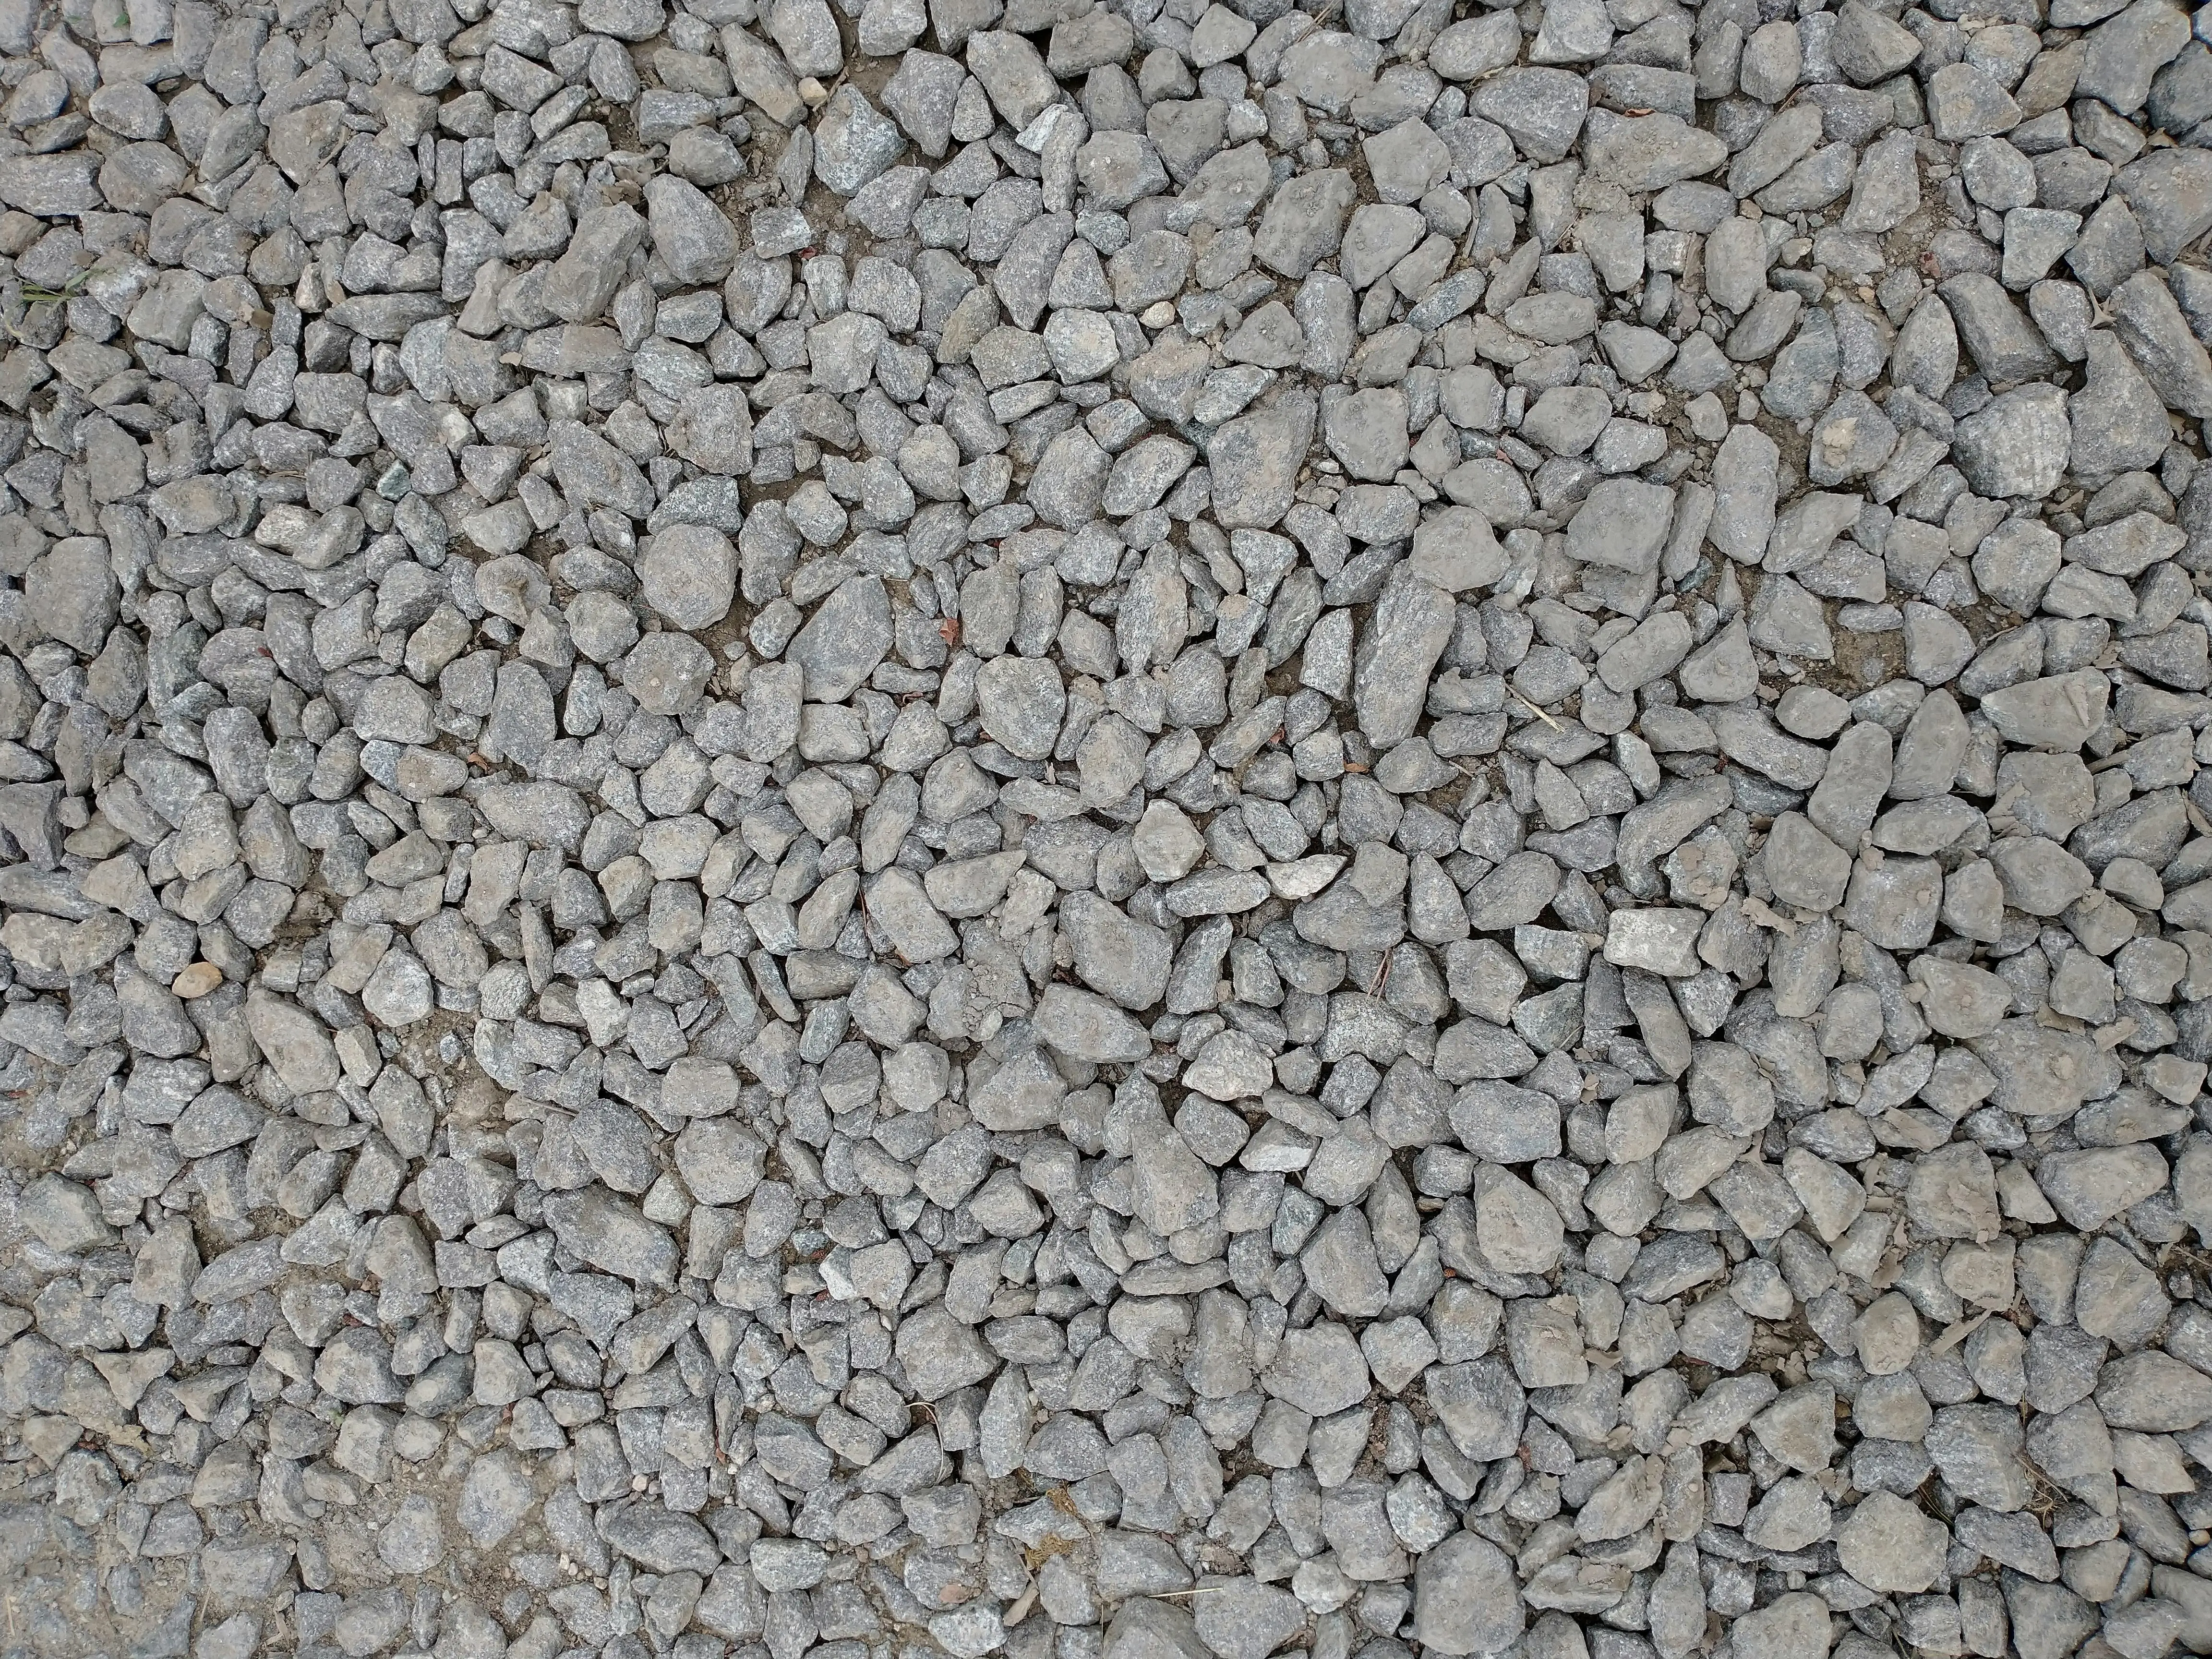
4. Stabilized Gravel with Geotextile & Cement-Fines Base
For long rural lanes, unstabilized gravel turns into a spring-time mush. We add 4 inches of cement-stabilized base (5 % cement by weight) plus a geotextile layer to stop fines from pumping upward. The surface is capped with 3 inches of locally crushed limestone (¾-inch minus) containing 12 % fractured faces for lock-in.
- Pros: Cheapest first cost, 100 % permeable, can plow immediately after install.
- Cons: Needs annual grading; snow removal can scrape stone into lawn.
- Pro tip: Install rolled berm edges (2×4 pressure-treated) to contain gravel and give the plow a clean edge.
Base Prep: The Part You Can’t Skip in Zone 1
Even the best surface will shatter if the foundation heaves. Follow this four-layer recipe and you’ll cut frost heave potential by 70 %.
Step 1: Excavate Below Frost Depth
Code minimum might be 42 inches—go 6 inches deeper. That extra buffer absorbs any late-season freeze that migrates upward.
Step 2: Install Geotextile Separator
A woven geotextile keeps the gravel base from mixing with the sub-soil. Without it, clay particles wick upward and turn your base into sponge cake after five winters.
Step 3: Build a Reverse Filter Layer
- Bottom: 4 in. of 4-inch minus rock (void space 40 %)
- Middle: 4 in. of 1-inch minus (void space 30 %)
- Top: 4 in. of ¾-inch minus (void space 25 %)
The gradation lets water drop fast, then percolate sideways to your perimeter drain.
Step 4: Add Insulation Board Under Heated Drives
Where budget allows, 2-inch Type IX EPS foam under the base (R-10) raises frost depth by roughly 12 inches. Pair it with hydronic tubes or electric heat mats and you can cut plowing 50 %.
Drainage & De-Icing: Protect Your Investment
Slope Guidelines
Minimum 1 % (1/8-inch per foot) toward street or swale. For paver drives, bump to 1.5 % so cold water exits before it can puddle and refreeze.
Perimeter Drain Tile
Install 4-inch perforated PVC at the footer level, daylighted to a ditch or dry-well. Wrap in sock filter and bury in #57 stone. Without drain tile, melt-water can pool under the center of the drive and create an ice lens that jacks the slab 2 inches overnight.
Smart Salting
- Concrete: Use calcium-magnesium acetate (CMA) or potassium chloride; avoid straight rock salt (NaCl) the first winter until the surface carbonates.
- Asphalt: Salt is okay, but rinse edges in spring to flush chlorides before they undercut the binder.
- Pavers: Swap salt for coarse sand; it gives traction and won’t etch the surface.
Annual Maintenance Checklist for Zone 1
- Early April: Power-wash to remove chloride residue; inspect for cracks wider than ¼-inch.
- May: Seal expansion joints on concrete with self-leveling silicone; touch-up seal-coat on asphalt if last coat was 3 years ago.
- October: Apply penetrating silane/siloxane sealer on concrete for salt resistance; refill paver joints with fresh polymeric sand.
- After First Snow: Set plow shoes to ½-inch above surface; install marker stakes every 10 feet so the blade doesn’t chew the edge.
Real-World Costs in 2024 (12×50-ft Drive, 600 ft²)
| Material | Installed Price (USD) | 40-Year Cost* |
|---|---|---|
| Air-Entrained Concrete | $7–$9 /ft² ($4,200–$5,400) | $6,600 (includes two joint reseals) |
| PMA Asphalt | $4–$6 /ft² ($2,400–$3,600) | $6,800 (four seal-coats + one overlay) |
| Permeable Pavers | $10–$12 /ft² ($6,000–$7,200) | $7,500 (vacuum + sand top-ups) |
| Stabilized Gravel | $2–$3 /ft² ($1,200–$1,800) | $4,000 (annual grading + fresh stone) |
*Includes estimated maintenance, discounted at 3 % inflation.
DIY vs. Hiring a Pro in Zone 1
Excavating 48 inches through frozen silt in February is not a weekend project. Renting a 3-ton mini-excavator runs $400 per day, but you’ll still pay $600 for trucking the spoils. A licensed contractor brings laser-graded equipment, on-site concrete testing, and warranty backup. Rule of thumb: if your drive is longer than 150 feet or you need a pump truck for concrete, hire the pro. Smaller 12×20 parking pads can be DIY-friendly with pre-mixed bags and a rental mixer—just be sure to tent and heat the pour if temps drop below 40 °F within 72 hours.
Frequently Asked Questions
Rebar holds cracked sections together, but it doesn’t stop freeze-thaw spalling. You still need air-entrained mix with 6–7 % air content. Skimp on the mix design and you’ll have surface flaking within two winters, rebar or not.
Wait 24 hours after the roller leaves if daytime highs stay above 50 °F. In sub-freezing weather, give it 48 hours so the polymer chains fully knit. Keep plow shoes at ½-inch for the first winter to avoid gouging.
Expect $8–$12 per square foot for hydronic tubing tied to a boiler. Operating cost runs $150–$250 per season for a 600-ft² drive. If you currently pay a plow service $600 per year and factor in salt damage repairs, payback is roughly 12–15 years—plus the convenience factor of a bare driveway every morning.
They underestimate base depth. A 4-inch gravel pad might pass inspection in spring, but come March the freeze-thaw cycle pumps clay upward and the slab rocks like a seesaw. Excavate to frost depth, use graduated stone, and add a drain tile—every time.