
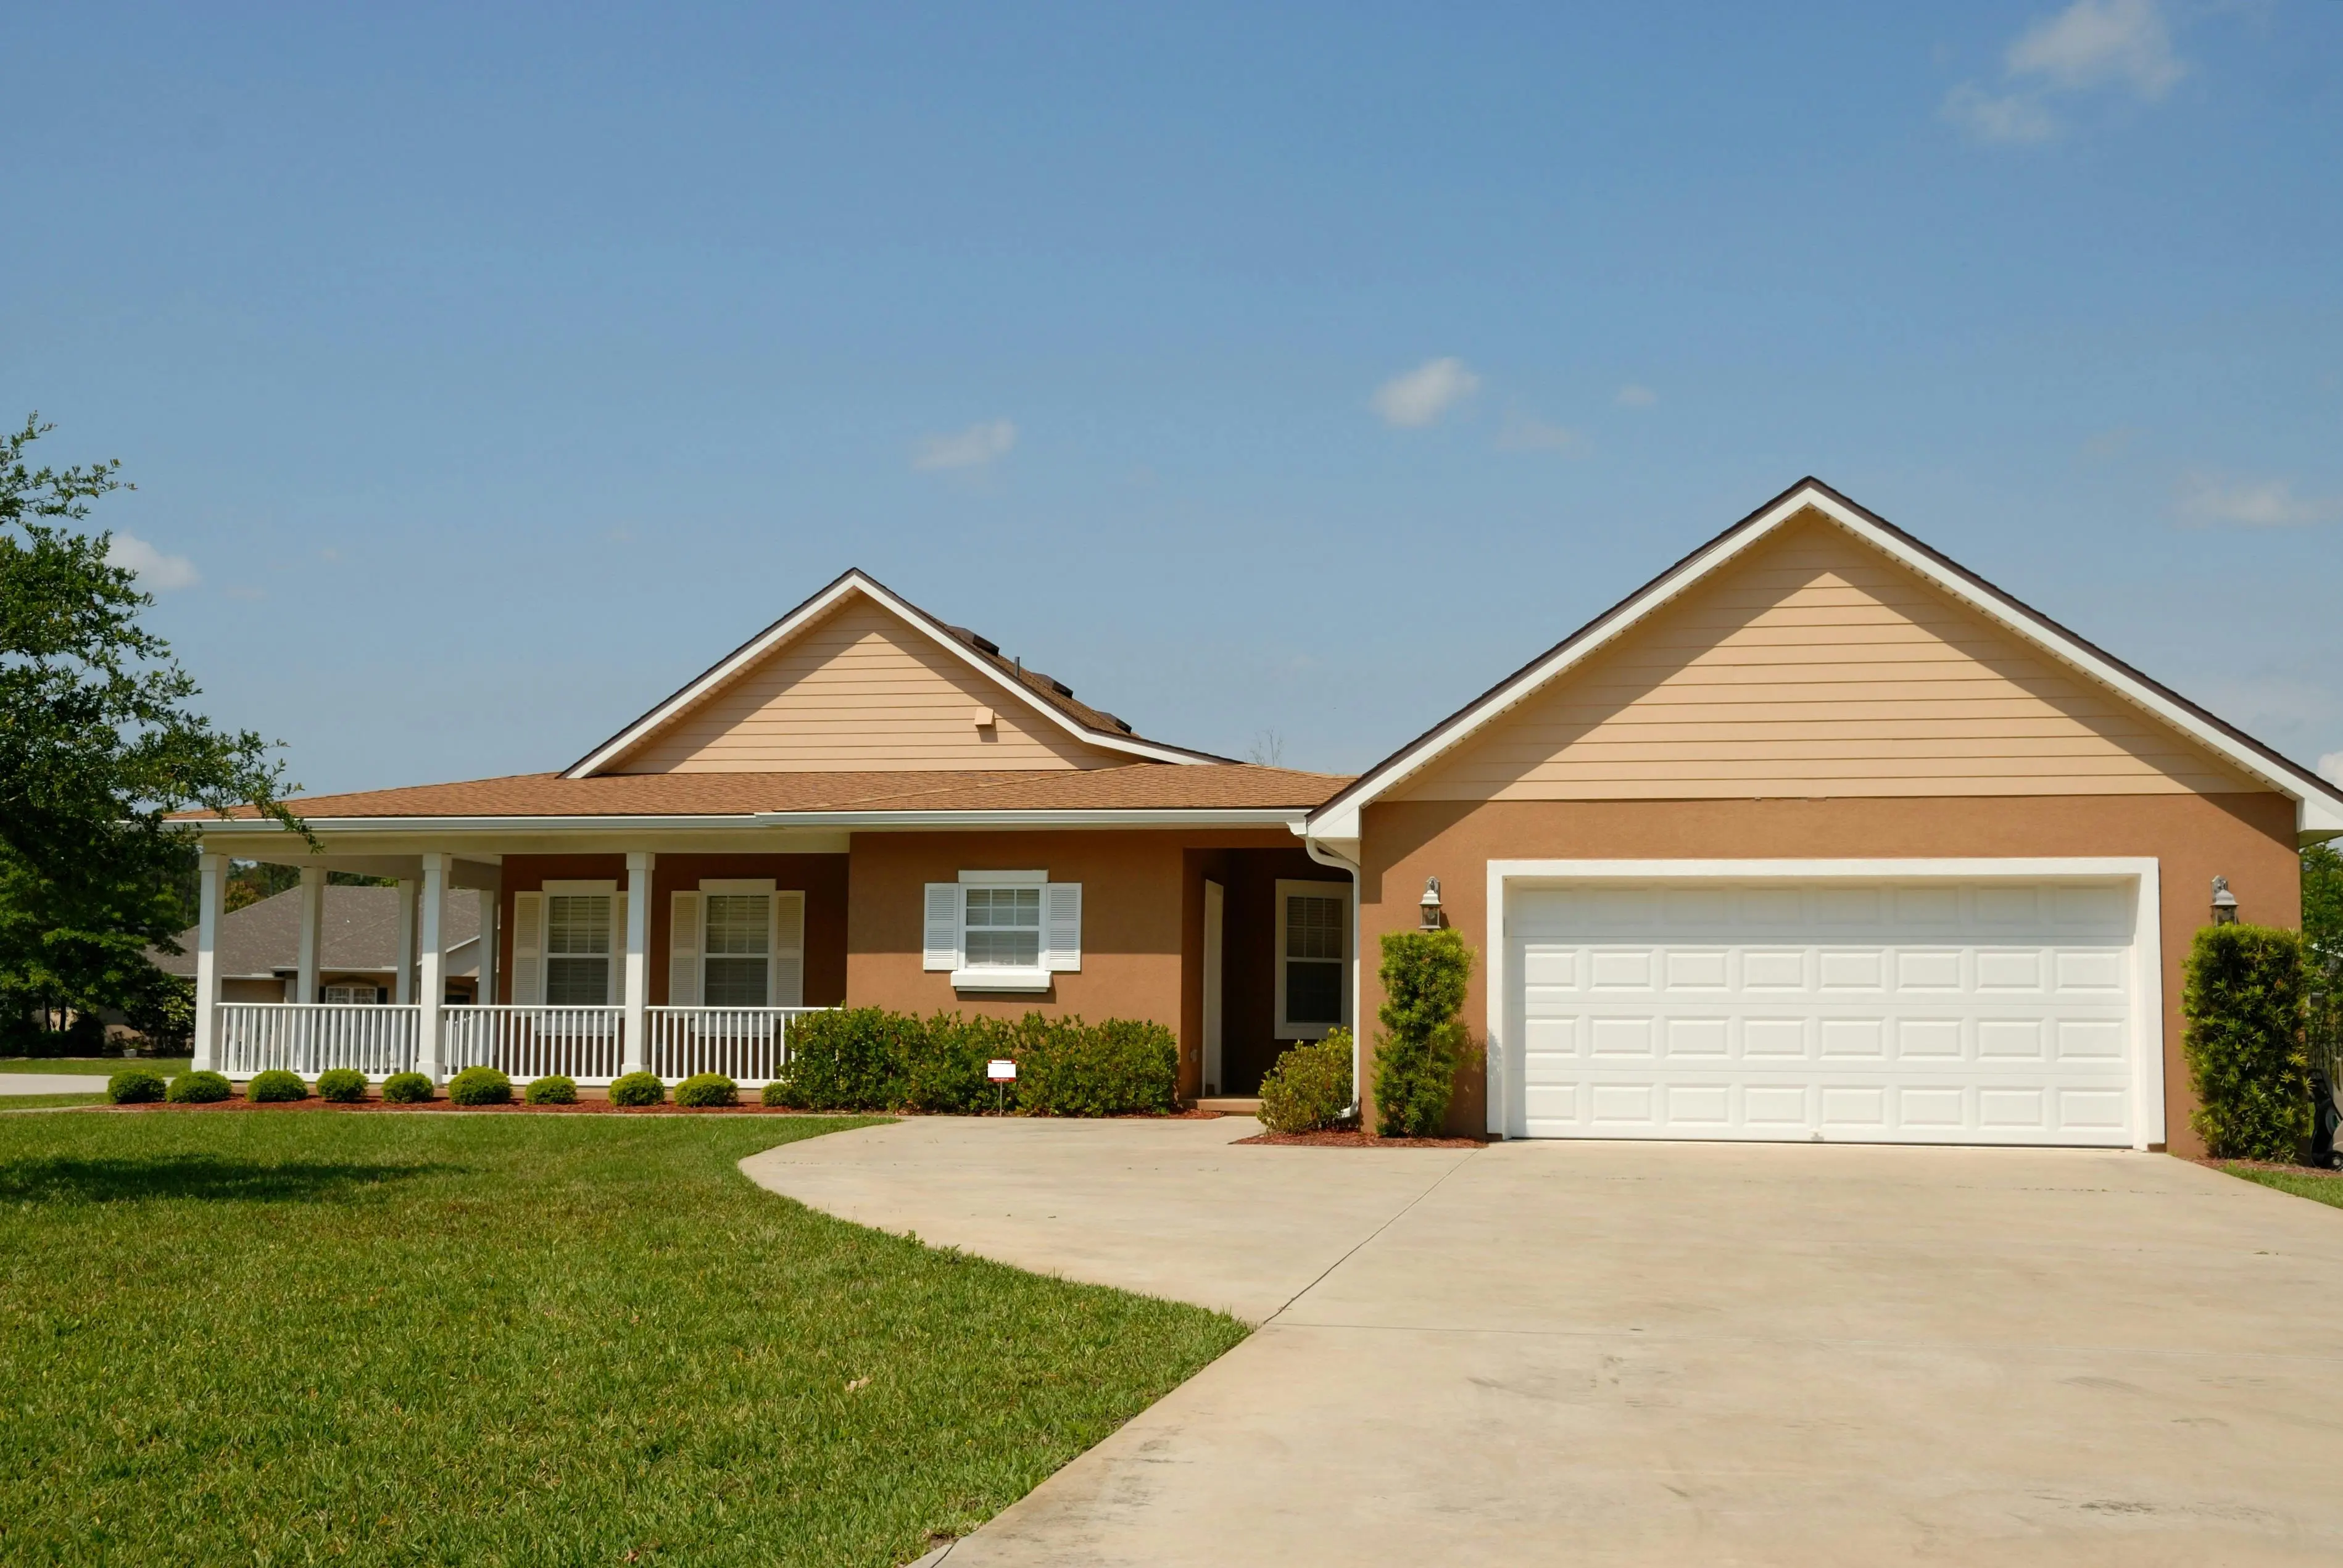
Why Crushed Limestone Base for Driveways Deserves Your Attention
If you’re tired of ruts, potholes, and muddy tire tracks, the fix usually starts below the surface. A crushed limestone base for driveways is the quiet workhorse that keeps the top layer—whether it’s asphalt, concrete, or gravel—flat, stable, and drain-ready for decades. In this guide you’ll learn what makes limestone the go-to base material, how to install it like the pros, and how to keep costs under control without cutting corners.
Top Benefits of Choosing Crushed Limestone for Your Driveway Base
1. Superior Load-Bearing Strength
Crushed limestone locks together when compacted, creating a semi-rigid slab that spreads vehicle weight over a wider area. The result? Less settling, fewer cracks, and a driveway that can handle everything from a compact car to a 15,000-lb RV without developing tire depressions.
2. Excellent Drainage Without the Mess
The jagged edges and varied particle sizes leave tiny channels for water to escape. That means spring runoff and summer cloudbursts percolate down instead of pooling on top or undermining the surface. Good drainage equals less freeze-thaw damage in northern climates and reduced erosion in the South.
3. Budget-Friendly Compared to Concrete or Full-Depth Asphalt
Expect to pay 30–50% less for a limestone base layer than you would for an equal thickness of concrete. You also save on future repairs because the flexible base accommodates minor soil movement instead of cracking like rigid pavement.
4. Readily Available Coast-to-Coast
Limestone is the most abundant quarried rock in the U.S., so you won’t face shipping surcharges or long wait times. Local availability keeps prices stable and supports regional jobs—a win for your wallet and your community.
5. Eco-Friendly and pH-Neutral
Unlike steel slag or recycled concrete, limestone is pH-neutral and won’t leach metals into groundwater. When it’s time to redo the driveway, the same stone can be re-graded and re-used as road base elsewhere on your property.
Which Grade of Crushed Limestone Is Right for Your Driveway?
Not all limestone is the same. Quarries screen it into “grades” that describe particle size and dust content. Picking the correct grade is the fastest way to guarantee a long-lasting base.
¾” Minus (aka Road Base or #57 Blend)
- Best for: Most residential driveways with clay or silty soil
- Particle size: ¾-inch top size down to stone dust
- Why it works: Dust fills the gaps, locking larger stones together during compaction
1½” Minus
- Best for: Soft, swampy ground or new construction where you need extra bearing capacity
- Particle size: 1½-inch down to fines
- Tip: Lay down a geotextile fabric first to keep the larger stones from sinking into mud
#8 Stone (⅜” Clean)
- Best for: Thin “setting bed” under pavers or permeable paver projects—not a structural base
- Contains no fines, so water moves through fast but compaction is poor
#53 (¾” with Agricultural Lime)
- Best for: Rural farm lanes where you also want to neutralize acidic soil
- Not ideal for urban lots because the extra dust can track onto sidewalks
Planning Your Driveway: Thickness, Width, and Slope
How Thick Should the Limestone Base Be?
A passenger-car driveway on firm soil needs 4–6 inches after compaction. If you drive a ¾-ton pickup or expect delivery trucks, bump that to 8–10 inches. For heavy RV pads or boat trailers, start with 12 inches and add geogrid for extra insurance.
Driveway Width and Turn-Around Basics
- Single-car: 10 ft wide absolute minimum; 12 ft is comfortable
- Double-car: 18–20 ft wide so doors can open without stepping into mud
- Turn-around: A 20 ft × 20 ft pad prevents backing into the street
Crown and Slope for Drainage
Limestone drains best when the finished surface has a ¼-inch crown per foot of width (2% cross-slope). That means the center is 2 inches higher than the edges on a 12-ft wide drive. End the slope at a swale or gutter so water doesn’t undermine the edge.
Step-by-Step Installation Guide
Tools & Materials Checklist
- Stakes, string line, and line level
- Excavator or shovel (trenching shovel for clean edges)
- Plate compactor or jumping-jack (rent for $75–$90/day)
- Geotextile fabric (optional but cheap insurance)
- Crushed limestone (order 10% extra for compaction loss)
- Landscape rake, metal rake, and 2×4 screed board
- Garden hose with spray nozzle (moisture is key to compaction)
- Safety gear: gloves, eye protection, ear muffs, steel-toe boots
Step 1: Call 811 and Mark Utilities
One free call keeps you from slicing a gas line or fiber-optic cable. Wait the required 2–3 business days before you put shovel to soil.
Step 2: Remove Organic Topsoil
Strip off grass, roots, and dark topsoil to expose firmer sub-grade. Organic matter decomposes and leaves voids—prime real estate for future potholes. Stockpile the topsoil for flower beds or lawn repairs.
Step 3: Set Grade Stakes Every 6–8 Feet
Drive a stake at the finished elevation of the limestone base. Run a string line at the correct height and slope. Use a line level or laser to double-check; being off by ½ inch now telegraphs into a puddle later.
Step 4: Install Edge Restraints (Optional but Smart)
Plastic or aluminum edging keeps limestone from creeping outward. Secure with 10-inch steel spikes every 2 ft. Edging also gives you a crisp, mower-friendly border if you later add gravel or pavers on top.
Step 5: Lay Geotextile Fabric on Soft Soils
Roll out the fabric so adjacent sheets overlap by 12 inches. Pin it every 3 ft with landscape staples. The fabric stops the limestone from mixing with muddy sub-grade—a $50 step that can double the life of your driveway.
Step 6: Bring in and Spread Limestone
Dump trucks should “tailgate” the stone in small piles every 10–12 ft. Rake the piles into an even layer ½ inch above your target height; compaction will drop the surface the rest of the way. Work in 4-inch lifts (layers) for best density.
Step 7: Wet and Compact Each Lift
Lightly spray the limestone until the top 1 inch is damp but not soupy. Make 3–4 passes with a plate compactor, overlapping each pass by half the plate width. You’ll hear the tone change from a dull thud to a sharp ring—that’s the sound of locked stone.
Step 8> Final Grade Check
Restring your lines. The surface should be within ¼ inch of the design height. Fill low spots with fresh stone and compact again. High spots? Rake out the excess and re-compact. When you’re done, water should sheet off without puddling.
Maintenance Tips to Maximize Lifespan
Keep It Clean
Leaves and grass clippings trap moisture and accelerate dust breakdown. A quick blower pass every few weeks prevents that paste from forming.
Top-Dress Every 3–5 Years
Add a 1-inch layer of ¾” minus limestone, rake it level, and compact. The fresh fines re-lock any stones that have loosened from freeze-thaw or traffic.
Seal the Surface (If You Run Gravel on Top)
A liquid calcium chloride or magnesium chloride dust suppressant binds the top ½ inch, cutting dust by 50% and keeping the base drier.
Fix Ruts Early
Whenever you see a depression deeper than ½ inch, fill it immediately. Small problems become big ones once water pools and erodes the base underneath.
What Does a Crushed Limestone Base Cost in 2024?
Prices vary by region, but here are realistic ranges for a 12 ft × 50 ft (600 sq ft) driveway:
- Stone: $25–$35 per ton delivered (1 ton covers ~55 sq ft at 6 in thick)
- Geotextile fabric: $0.12–$0.20 per sq ft
- Equipment rental: $75–$125/day for plate compactor, $250/day mini-excavator
- Labor (if hired): $40–$60 per hour, 4–6 hours for a standard driveway
DIY total: $700–$950 for material and one-day rental
Professional install: $1,400–$2,000 including stone, labor, and compaction.
Ways to Save Without Sacrificing Quality
- Order stone by the truckload (20-ton minimum) instead of individual tons—saves $5–$8 per ton in delivery fees.
- Combine jobs with a neighbor; quarries often discount tandem-axle loads split between two addresses on the same run.
- Do your own final grading and leave only the excavation and base install to the pros. You’ll cut labor by 30%.
Frequently Asked Questions
Removing topsoil is non-negotiable. Grass and organic matter decompose, creating voids that lead to settling and potholes within a single season. Spend the extra hour (or modest labor fee) to strip off 4–6 inches of topsoil first; your driveway will last years longer.
Light vehicles can use the base immediately after final compaction. If you’re laying asphalt or concrete on top, wait 24–48 hours so any residual moisture can evaporate. For gravel top-coats, drive away—just keep speeds low for the first week to avoid scuffing.
Properly compacted ¾” minus limestone interlocks like puzzle pieces and resists washout. The key is correct crown and edge restraints. If your driveway slopes toward a ditch, add a shallow swale or culvert pipe to direct water without scouring the stone.
Yes. Limestone is pH-neutral once it’s down and compacted. The initial dust can irritate paws, so rinse the surface after installation and keep pets inside during compaction. Runoff won’t harm plants, although repeated washing of high-pH water could marginally raise soil pH over many years—easily offset with routine compost.