
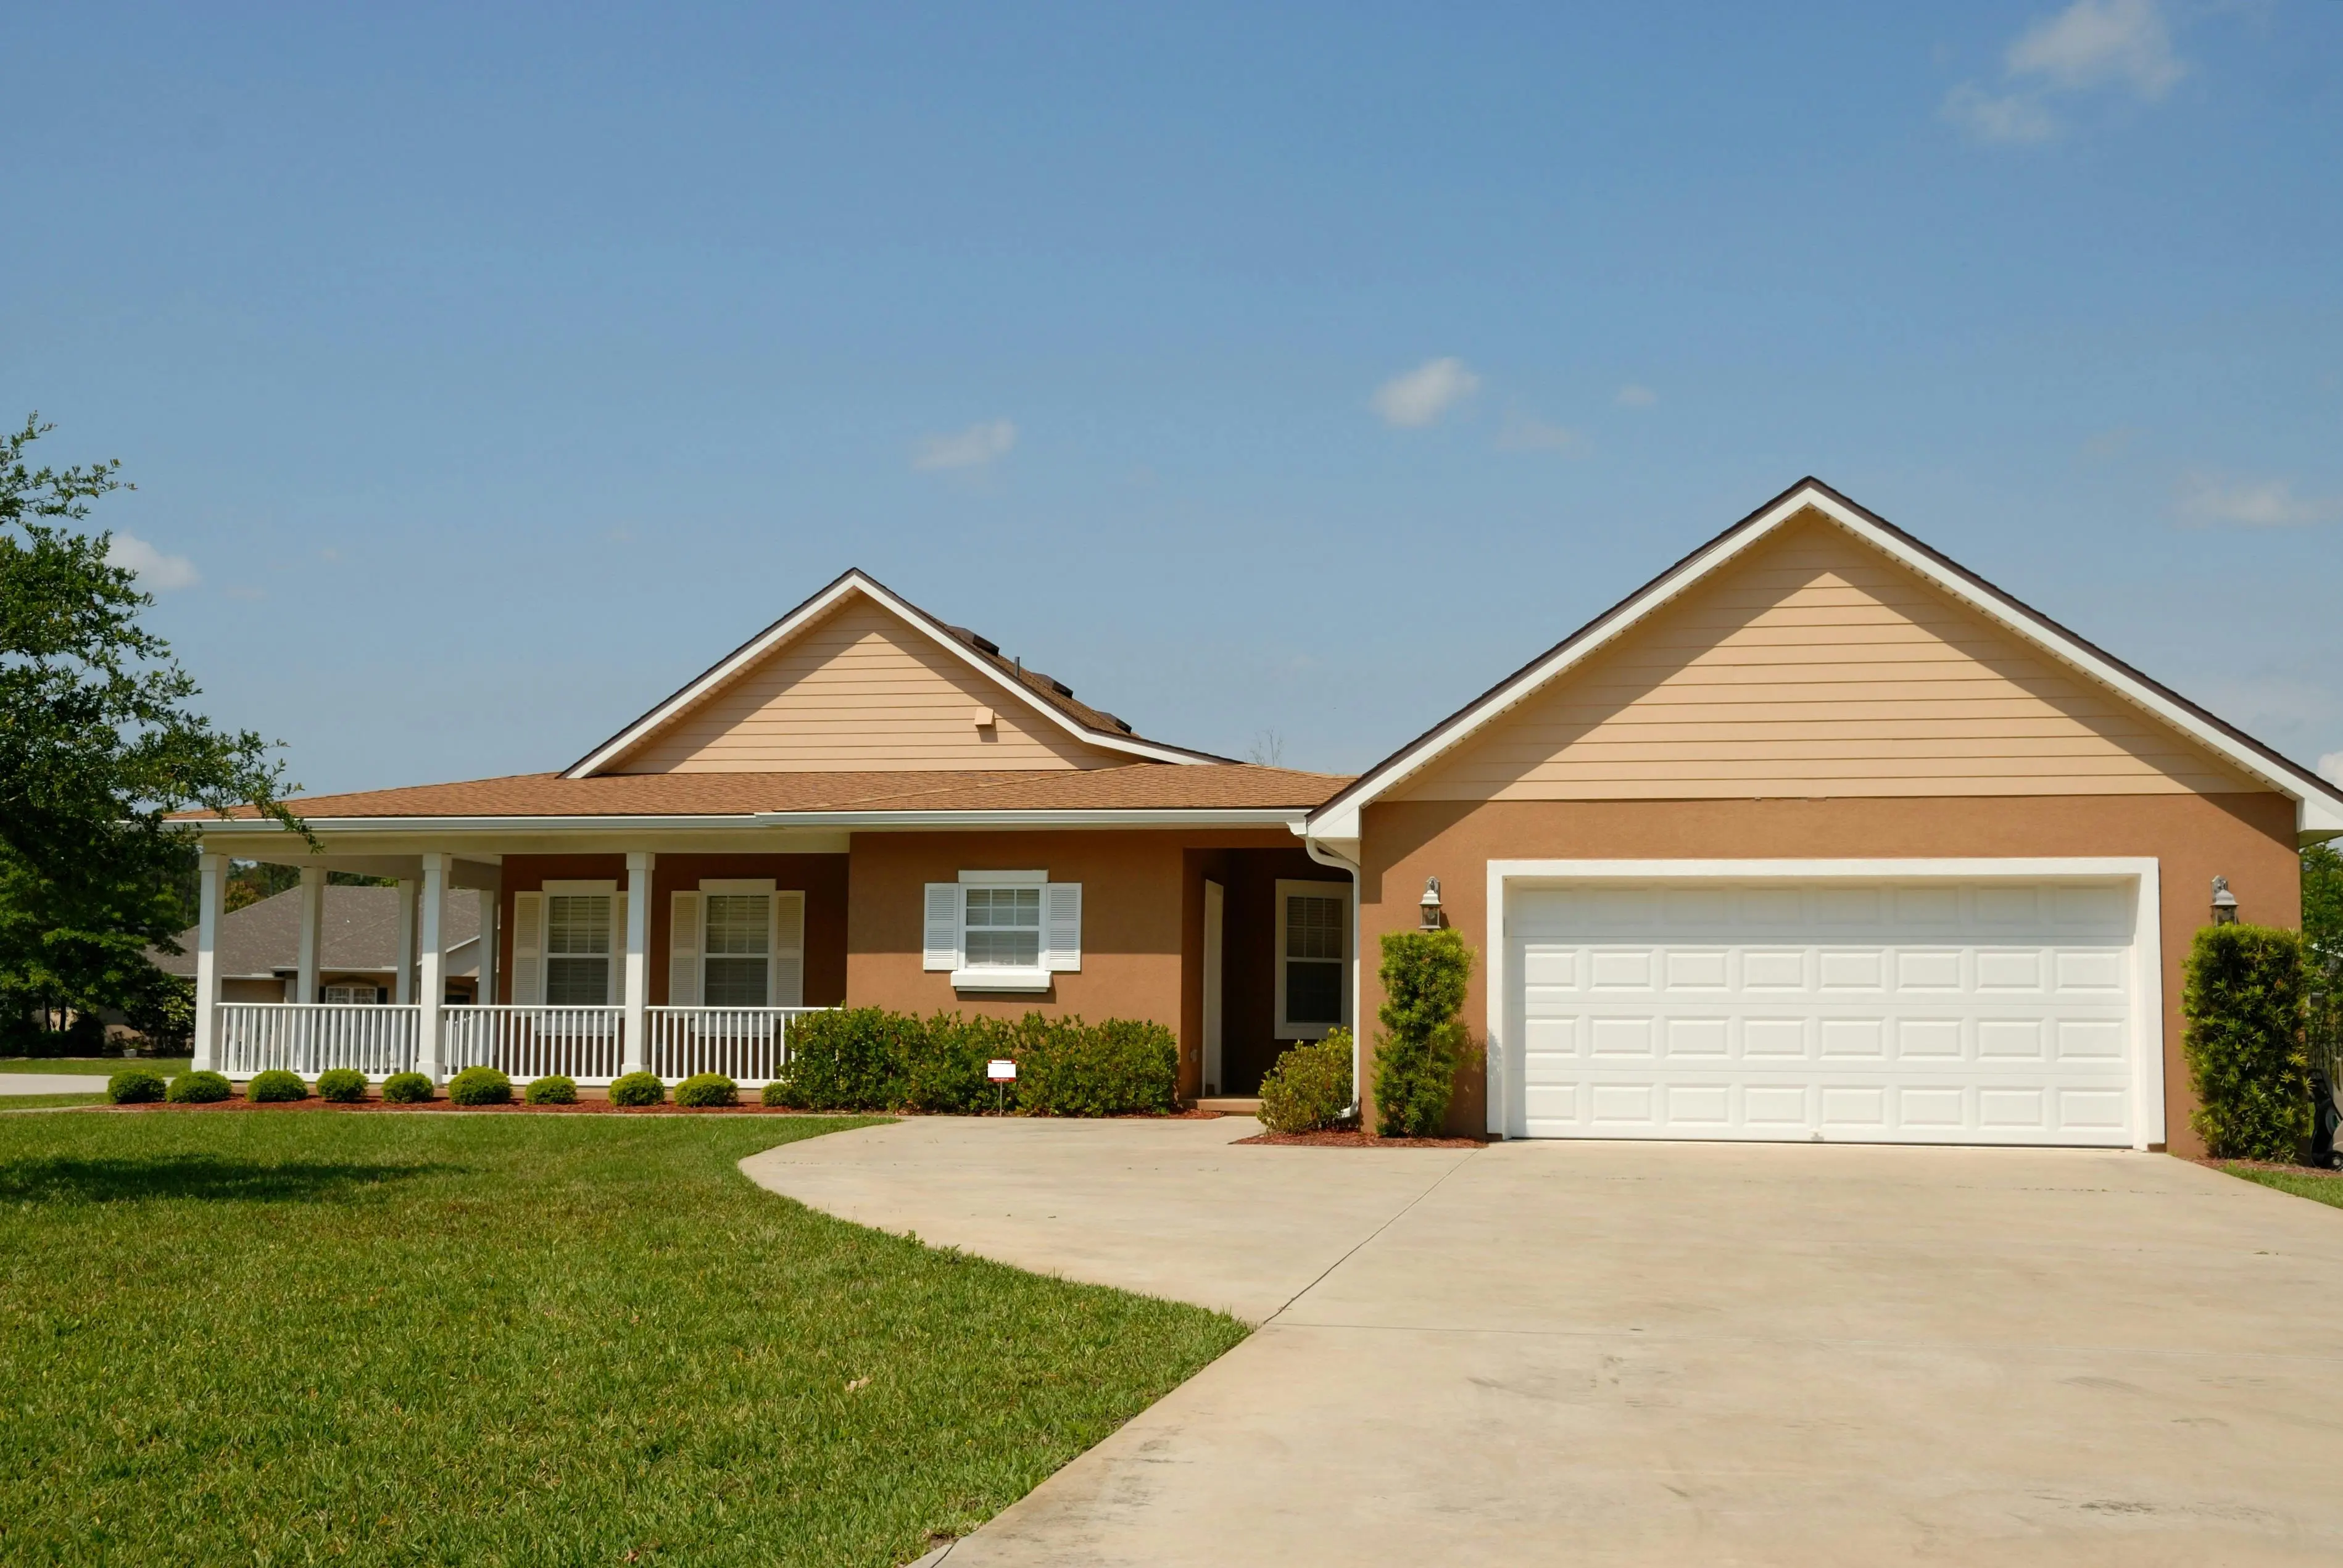
Why Crushed Granite Driveways Are Gaining Popularity
Crushed granite driveways deliver the natural elegance of stone without the premium price tag of pavers or asphalt. The mix of angular pink-gray particles locks together under pressure, creating a firm yet permeable surface that handles heavy vehicles, drains quickly, and blends with almost any landscape palette.
Homeowners across the U.S. are swapping out rutted gravel or cracked concrete for this decomposed-granite (DG) solution because it:
- Costs 30-50% less than concrete or asphalt over a 10-year span
- Allows rainwater to percolate, reducing runoff fees and ice patches
- Requires only periodic raking and an annual top-up
- Comes in muted earth tones that hide oil drips and tire marks
Below you’ll find a step-by-step guide to planning, installing, and maintaining a crushed granite driveway—whether you DIY or hire a pro.
Planning Your Crushed Granite Driveway
Check Zoning, Setbacks & Utilities
Call 811 before you sketch a single line. Mark water, gas, electric, and cable so you don’t have to tear out fresh granite when a utility crew shows up. Then verify:
- Local driveway width rules (usually 10–12 ft for single, 20 ft for double)
- Setback from property lines (often 5 ft)
- HOO color or material restrictions
Measure Slope & Drainage
Ideally, the drive should slope 1–2% (⅛–¼ in. per foot) away from structures. If your grade exceeds 8%, plan 3-in. “checker” edging every 12 ft to trap granite and prevent washboard ruts.
Choose the Right Granite Blend
Three common grades are stocked in the U.S.:
- Fines Only (¼-in. minus): Packs hard, looks smooth, but can track into the house.
- ½-in. Minus: Best balance of stability and permeability; the go-to for residential drives.
- ¾-in. with Fines: Great for heavy trucks, needs a 4-in. top layer of ½-in. minus for a finished look.
Ask the quarry for a Stabilized DG mix if you want extra binding resin pre-blended.
Tools & Materials Checklist
- Landscape paint or flags for layout
- Excavator or pick & shovel for 6–8-in. dig
- Plate compactor (3500 lb centrifugal force minimum)
- Geotextile fabric (4.5 oz woven) to stop clay migration
- Crushed base rock (¾-in. clean) – 4 in. thick
- Decomposed granite – 3 in. compacted (order 15% extra)
- Steel or aluminum edging + 10-in. spikes
- Hand tamper for corners the plate compactor can’t reach
- Garden rake, 4-ft level, hose with spray nozzle
Pro tip: Order granite by the ton, not cubic yard. One ton of ½-in. minus DG covers roughly 90 sq ft at 3 in. deep after compaction.
Installation: From Dirt to Done in One Weekend
Step 1 – Remove Topsoil & Organics
Excavate to a depth equal to: base rock (4 in.) + granite (3 in.) + ½ in. for final rake. Discard loam; don’t reuse it as backfill—it will settle.
Step 2 – Lay Geotextile Fabric
Roll out the fabric so joints overlap 12 in. Pin every 3 ft. This barrier keeps clay from pumping upward and turning your granite into muddy concrete.
Step 3 – Install Base Layer
Spread ¾-in. clean gravel in 2-in. lifts. Spray lightly and compact each lift until the plate compactor “walks” smoothly. Aim for a finished height 3 in. below final grade.
Step 4 – Edge Restraints
Secure edging spikes every 2 ft. The edging should protrude 1 in. above compacted base to contain granite but stay ½ in. below finished granite height so tires don’t scuff it.
Step 5 – Spread & Screen Granite
Dump DG in small piles, then rake to 4 in. loose (it will compact to 3 in.). Screed with a long 2×4 to maintain crown or slope.
Step 6 – First Compaction Pass
Run the plate compactor north-south, then east-west. Mist lightly—just enough to bind fines, not create slurry. If footprints leave less than ¼-in. depression, you’re done.
Step 7 – Final Top-Up & Roll
Sprinkle a thin “dusting” (¼ in.) of fresh granite, hand-rake, and roll again. This fills any hairline gaps and gives the rich, consistent color homeowners love.
Optional Upgrades: Stabilizers & Sealers
Want a firmer, near-solid feel? Blend liquid G3-Pathway Stabilizer (eco-friendly acrylic) into the top 1 in. of compacted granite at 25 ft²/gal. Keep traffic off for 24 h. Expect a 5–7-year life extension and 30% less tracking.
For desert regions, a breathable UV-resistant sealer darkens the stone and reduces dust—reapply every 3 years.
Low-Key Maintenance Schedule
Weekly
- Blow or rake leaves before they stain
Monthly
- Rake high spots back into low areas
- Check edging spikes; tap back in if lifted
Seasonally
- Top-dress ¼–½ in. in high-traffic wheel paths
- Recompact after top-dressing
Annually
- Inspect drainage swales for silt build-up
- Add fresh granite if the surface exposes base rock (plan on 5–10% by volume)
Quick Fixes for Common Issues
Ruts & Washboarding
Cause: Rapid acceleration, braking, or inadequate compaction. Fix: Loosen top 1 in., re-level, moisten, and compact.
Muddy Spots After Rain
Cause: Clay subgrade mixing upward. Fix: Remove 2 in. of granite, patch with fresh material, and consider a stabilizer additive.
Weeds
Prevent with pre-emergent herbicide each spring. Hand-pull deep-rooted invaders; avoid Round-up overspray—it can discolor granite.
Real-World Cost Breakdown (2024 Pricing)
| Item | DIY (500 ft²) | Pro Installed (500 ft²) |
|---|---|---|
| Excavation & disposal | $150 (dump fees) | $1.00/ft² |
| Geotextile & base rock | $0.60/ft² | $1.30/ft² |
| Crushed granite (delivered) | $0.75/ft² | $1.00/ft² |
| Edging & hardware | $0.40/ft² | $0.60/ft² |
| Labor | $0 | $2.50/ft² |
| Total | $1,275 | $3,200 |
Factor in 5% annual savings on maintenance vs. asphalt seal-coating.
DIY vs. Hiring a Driveway Contractor
DIY saves roughly 50% but demands heavy labor and access to a plate compactor. If your drive is >1,000 ft², has clay soil, or slopes >6%, a pro crew with a skid-steer and vibratory roller will deliver tighter compaction and a 5-year workmanship warranty.
Green Benefits of Crushed Granite
- Permeable surface earns storm-water credits in many municipalities
- Locally sourced granite cuts transport emissions
- No petroleum binders, so leachate is inert and pH-neutral
- 100% recyclable—scrape, screen, and reuse when you widen the drive
FAQ – Crushed Granite Driveways
With yearly top-dressing and proper edging, expect 10–15 years before a full 2-in. overhaul is needed. Stabilized DG can stretch that to 20 years.
Some loose fines cling to shoes. A stabilizer-sealer reduces tracking by 70%. Adding a 3-ft paver landing at the entry also helps knock particles off.
Yes—set the plow blade ½ in. high and use a poly or rubber cutting edge. Scatter a light application of granite in spring to refill any scrape marks.
Grades over 8% require extra edging, cross-angles during compaction, and possibly a stabilizer. For slopes >12%, consider stepped terraces or a concrete ribbon with granite infill.