
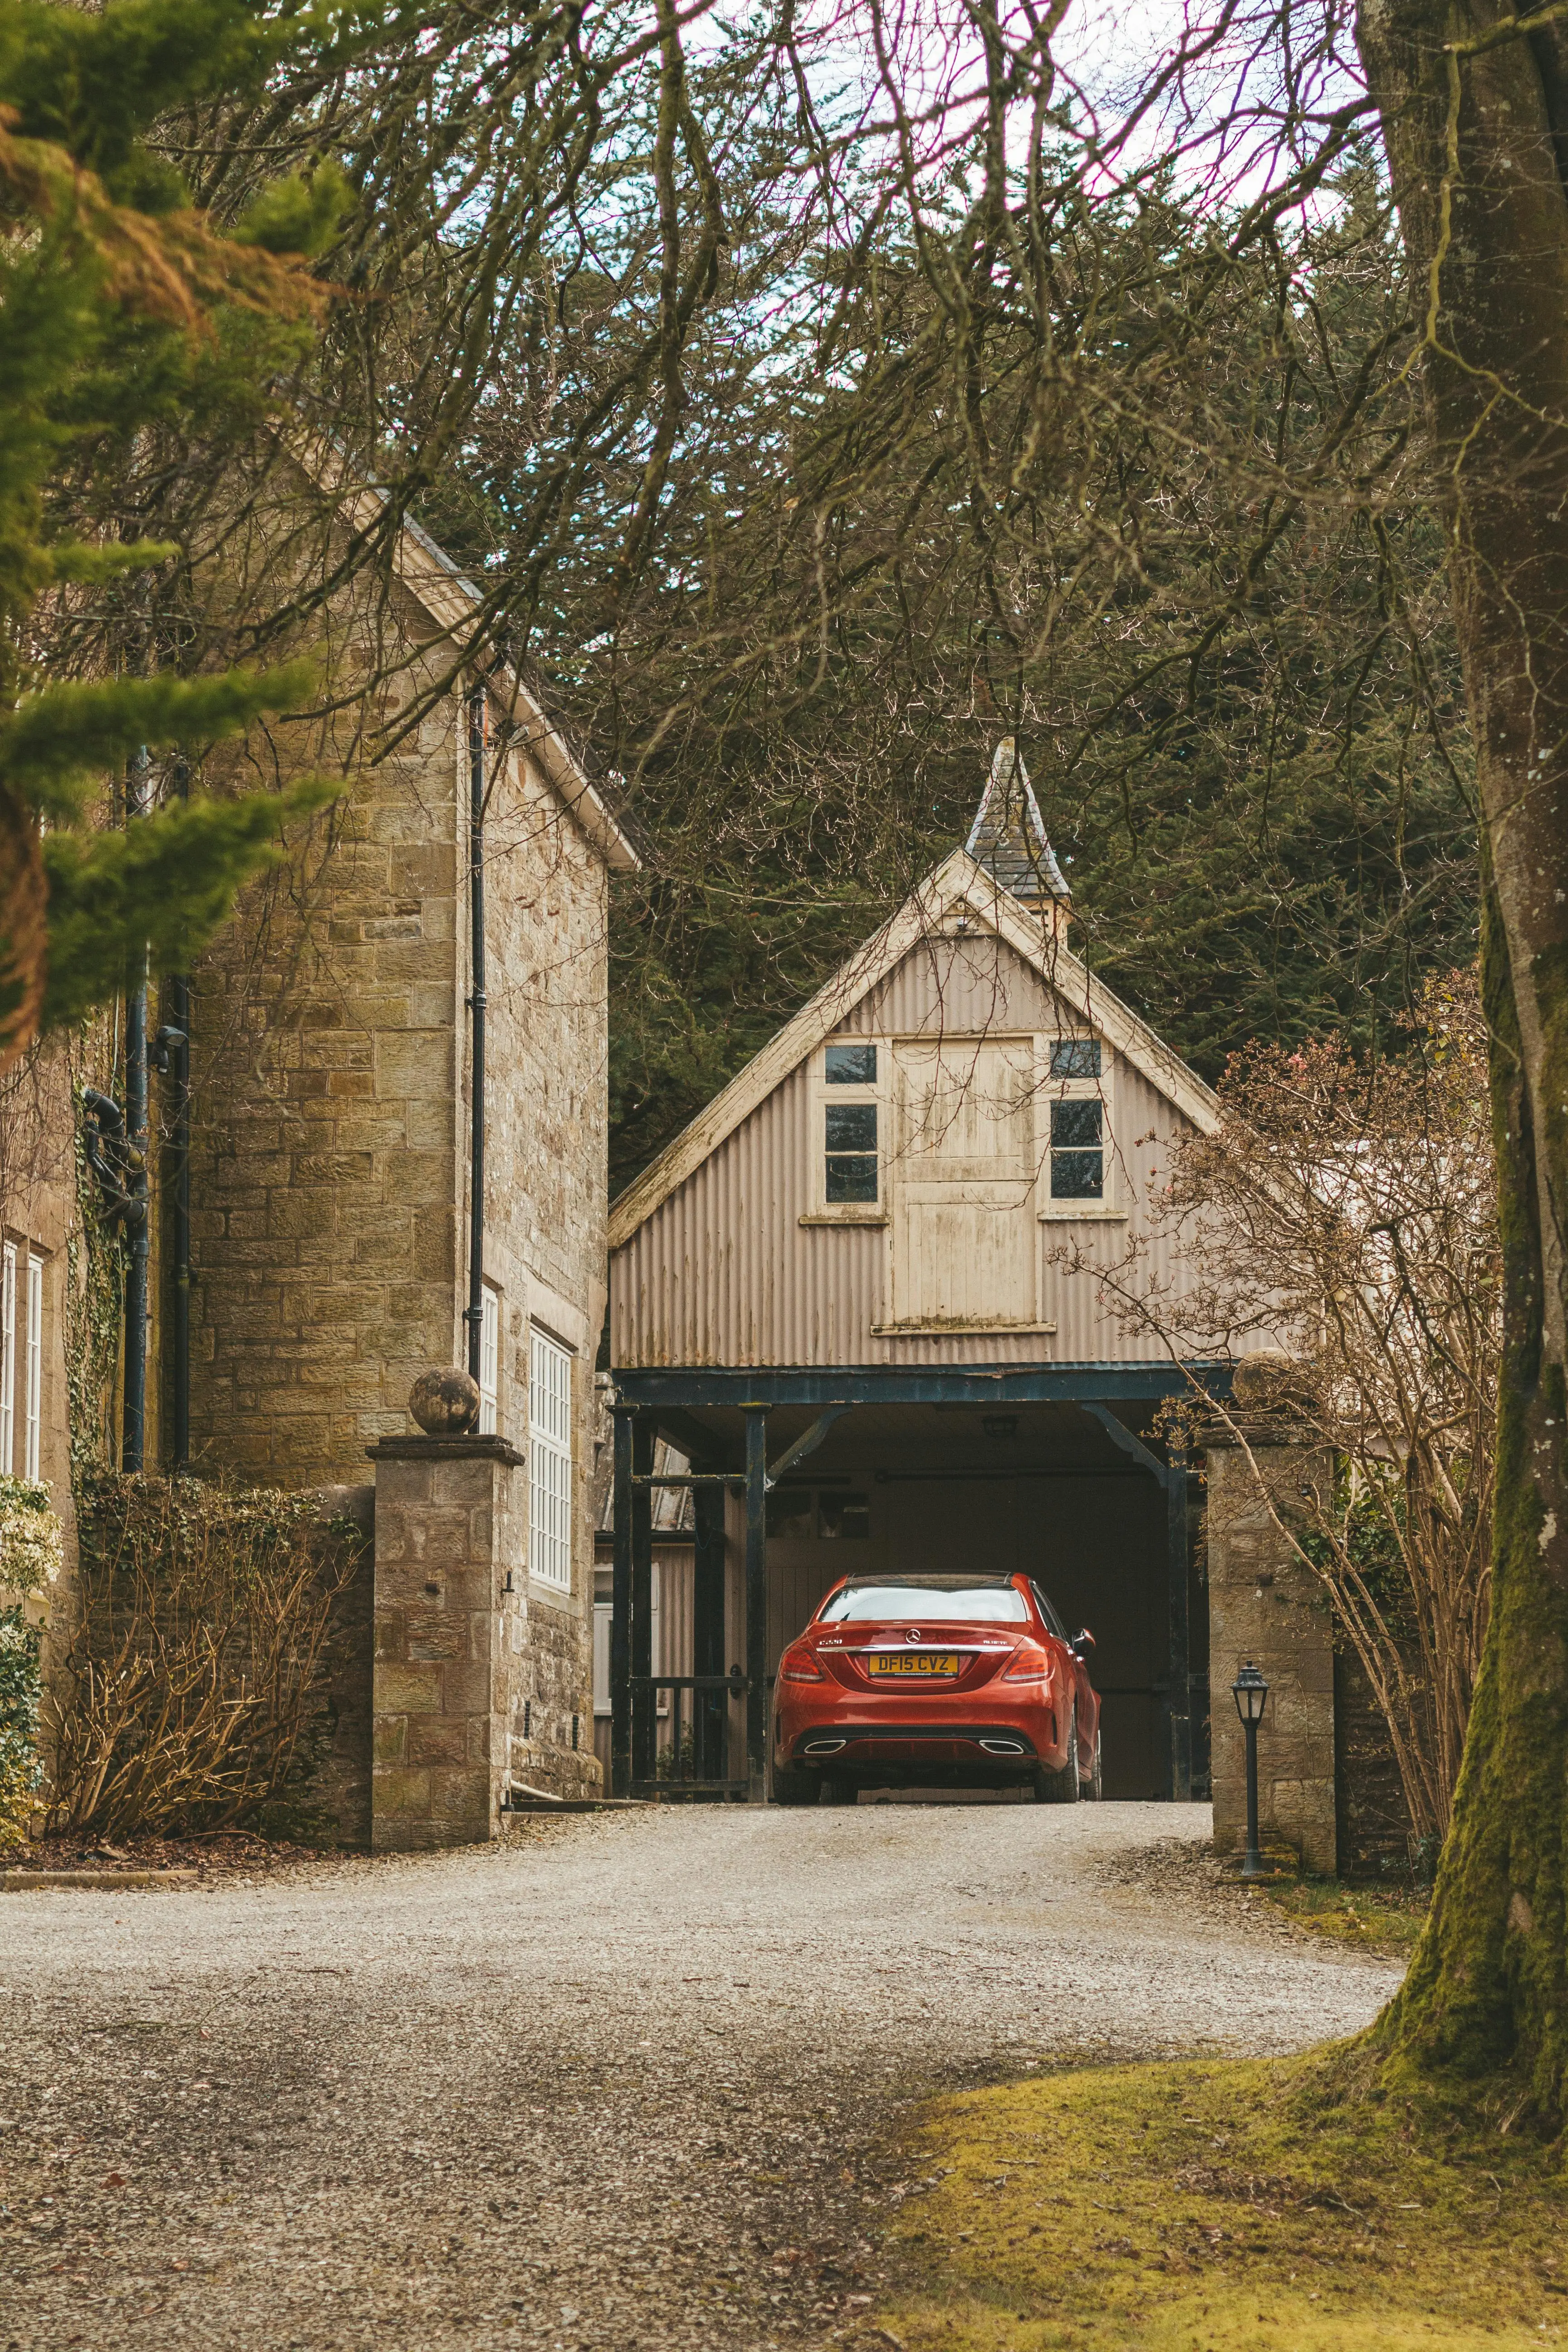
What Is Concrete Polishing for Residential Driveways?
Concrete polishing for residential driveways is the mechanical process of grinding, honing, and sealing an existing concrete slab until it reaches a satin or high-gloss finish. Unlike garage-floor coatings or stamped overlays, polishing works with the slab you already own, turning dull gray pavement into a light-reflective, stain-resistant surface that handles tire traffic, UV exposure, and freeze-thaw cycles.
The finished product looks surprisingly upscale—think granite sheen at a fraction of the cost—and can last 20-plus years with basic sweeping and an occasional rinse.
Top Benefits Homeowners Notice First
1. Curb Appeal Without the Premium Price Tag
A polished driveway reflects sunlight, making the entire front elevation look brighter and newer. Realtors tell us buyers often perceive the home as “updated” before they even reach the front door.
2. Stain & Oil Resistance
After densifier and penetrating sealer are applied, motor oil, leaf tannin, and fertilizer salts sit on the surface long enough for a quick hose-off instead of soaking in and leaving a shadow.
3. Lower Lifetime Maintenance
No resealing every spring, no weeds poking through joints, no loose pavers to reset. An annual neutral-pH wash and a fresh coat of sacrificial sealer every 5–7 years is the entire program.
4. Improved Light & Safety at Night
A 400-grit polish raises ambient light by 25–30 %. That means you can drop wattage on garage sconces or pathway lights and still see where you’re walking.
5. Eco-Friendly Reuse
You keep the existing slab out of the landfill and avoid the carbon footprint of new pavers, asphalt, or petro-based epoxy coatings.
Step-by-Step: How Driveway Polishing Works
Step 1 – Condition Check & Repairs
Contractors scan for cracks wider than ¼", spalling edges, and previous oil saturation. Those flaws are routed, filled with semi-rigid polyurea, and given 24 hrs to cure so they polish flush with the surface.
Step 2 – Heavy Grind (14–30 Grit Metal)
Planetary grinders knock off the top paste layer and expose a consistent sand or small-aggregate profile. This is the “leveling pass” that removes driveway crown discrepancies up to ⅛".
Step 3 – Density & Patch Fill
A lithium-based densifier soaks in and reacts with free lime, hardening the wear zone to a Mohs 6–7. Meanwhile, pin holes and bug holes are skim-filled with cementitious slurry.
Step 4 – Progressive Honing
Resin pads from 50 to 400 grit gradually close surface pores. Most homeowners stop at 200 grit for a satin driveway; 400–800 grit delivers a marble-like gloss.
Step 5 – Guard & Burnish
A breathable stain guard is mopped on, then burnished at 1,500 rpm to lock it into the micro-pores. Optional non-slip micro-beads are broadcast at this stage for extra grip on sloped drives.
Polished Concrete vs. Other Driveway Upgrades
Polished vs. Sealed Plain Concrete
- Sealer alone sits on top and can yellow; polishing changes the physical surface so it never peels.
- Polished finishes have 40 % higher abrasion resistance, critical for studded snow tires.
Polished vs. Stamped Overlay
- Overlays add ½"–¾" height that may conflict with garage thresholds; polishing keeps original elevation.
- Overlay colors fade under UV; polished concrete maintains tone because pigment is impregnated, not topical.
Polished vs. Pavers
- No sand joints means no anthills or weed growth.
- Polishing costs 30–50 % less over a 15-year span when you factor paver resetting and polymeric sand.
Design Options That Make It “Yours”
Aggregate Exposure Levels
- Cream Finish: Very little aggregate, consistent color—great for modern facades.
- Salt & Pepper: Fine sand particles visible; hides future tire marks.
- Full Aggregate: ¼" river stone or quartz gleams like terrazzo—popular with Craftsman-style homes.
Dyes & Stains
Translucent dyes added at 400-grit stage can shift gray concrete toward warm sandstone, charcoal, or even moss green while still letting the natural mottling show through.
Score Lines & Borders
Strategic ¼" deep saw cuts create the illusion of large format tiles or frame the apron in a contrasting dye, adding visual width to narrow driveways.
Matte vs. Gloss
200-grit stops at a low sheen that hides scuffs; 800-grit mirror finish looks dramatic but may need anti-slip additive if the slope exceeds 6 %.
How Long Does a Polished Driveway Last?
When the concrete substrate itself is structurally sound, the polished wear surface will not delaminate because it is the concrete. Industry case studies show 20–25 years on residential drives that support two to four vehicles daily. The key variable is sealer replenishment; once the guard layer thins (typically year 7–10), water spotting reappears. A single-day re-burnish with stain guard restores original luster for another 5–7 years.
Low-Effort Maintenance Schedule
Weekly
- Leaf blow or broom to remove grit that acts like sandpaper under tires.
Monthly
- Rinse with a garden hose; for oil drips, spray a neutral-pH car-shampoo solution and agitate with a soft deck brush.
Yearly
- Apply one coat of sacrificial wax before winter; this winterizes against magnesium chloride road salts.
- Inspect expansion joints and refill if backer rod is exposed.
Year 5–7
- Burnish new coat of stain guard; cost is roughly 15 % of original job.
What to Avoid
- De-icers with ammonium nitrate or ammonium sulfate—they micro-etch any cement surface.
- Wire brushes or 3,000-psi pressure washers that can strip the guard layer.
Typical Cost Breakdown (2024 U.S. Averages)
Pricing hinges on three variables: total square footage, repairs needed, and aggregate exposure. Most residential quotes fall between $4.50 and $8.75 per square foot.
Sample 600 ft² Two-Car Driveway
- Minor crack repair & 200-grit polish: $3,000 ($5/ft²)
- Full aggregate exposure, charcoal dye, saw-cut borders: $4,800 ($8/ft²)
Extras That Move the Needle
- Oil-contamination remediation: +$0.75/ft²
- Non-slip micro-bead additive: +$0.40/ft²
- Joint re-caulk with self-leveling polyurea: $3–$4 per linear foot
Keep in mind that polished concrete is a “renew, not replace” option. Tearing out and repouring a 600 ft² slab starts around $7,500 before any decorative treatment, so polishing often saves 40–60 % up front.
Can You Polish Your Driveway Yourself?
Short answer: possible, but rarely cost-effective. A 220-volt, 3-phase planetary grinder rents for $450/day and weighs 650 lb—specialty trailer, freight charges, and a 30-amp generator add up fast. Add diamond pads ($12–$15 each, 20 needed), densifier, guard, and a 2-day learning curve; most DIYers end up near the professional price without the warranty. If you still want the experience, limit the test zone to a 4 ft × 4 ft sidewalk square first.
Choosing the Right Contractor
Must-Ask Questions
- Do you own driveway-specific planetary equipment rated for outdoor aggregate? (Many crews only do interior floors.)
- Can you supply references for driveways 5+ years old? Older jobs show sealer performance.
- Is crack routing and polyurea fill included, or priced separately?
- What guard product do you use, and is the first re-burnish included?
Red Flags
- Quote way below $4/ft²—usually means skipping densifier or using topical wax that will peel.
- No dust-containment plan; outdoor slurry runoff can stain siding and breach EPA rules.
- Asks for 100 % payment upfront; industry standard is 50 % start, 50 % completion.
Best Time of Year to Polish Exterior Concrete
Air and slab temperature should stay between 45 °F and 90 °F for 48 hrs after densifier and sealer application. In most regions that leaves:
- Spring: April–May (low humidity, moderate temps)
- Early fall: September–October (stable weather, fewer pop-up storms)
Avoid mid-summer peak heat; sealers can flash-cure and leave haze that requires re-burnishing.
Return on Investment & Market Perception
Remodeling Magazine’s 2023 cost-vs-value report puts “decorative concrete upgrade” at a 69 % ROI in the Pacific region, slightly above basic asphalt replacement. Realtors we polled say a well-executed polished driveway photographs beautifully for MLS listings, often recovering the outlay at sale time while you enjoy the surface every day. Even if you stay put, reduced maintenance (no weed killer, no paver sand) saves $300-$500 annually—money you can redirect toward landscape lighting or a new entry door.
Frequently Asked Questions
A 200-grit finish has about the same coefficient of friction as brushed concrete. If you choose 400-grit or higher gloss, contractors add micronized polymer beads to the final sealer coat. The result meets ADA guidelines for exterior walkways without changing the shine.
Fresh petroleum spills lift during the initial grinding pass. Older, deeply soaked areas may leave a faint shadow, but a color-matched dye blended into the slurry fill usually disguises it. Severely saturated slabs sometimes need a poultice treatment that adds half a day to the schedule.
Foot traffic: 6–8 hours. Bicycle or motorcycle: 24 hours. Cars and light trucks: 48 hours. Heavy SUVs or boats: 72 hours. These times allow the stain guard to fully cross-link; premature tire contact can imprint micro-scuffs that are harmless but visible under low-angle light.
On the contrary, the lithium densifier increases surface compressive strength by 30–40 % and reduces water absorption to below 1 %. The process simply refines what’s already there; nothing is removed except the weak top paste.